How to use light for products
One light, a black background and six decisions. What I decide in a product shoot and why, photo by photo.
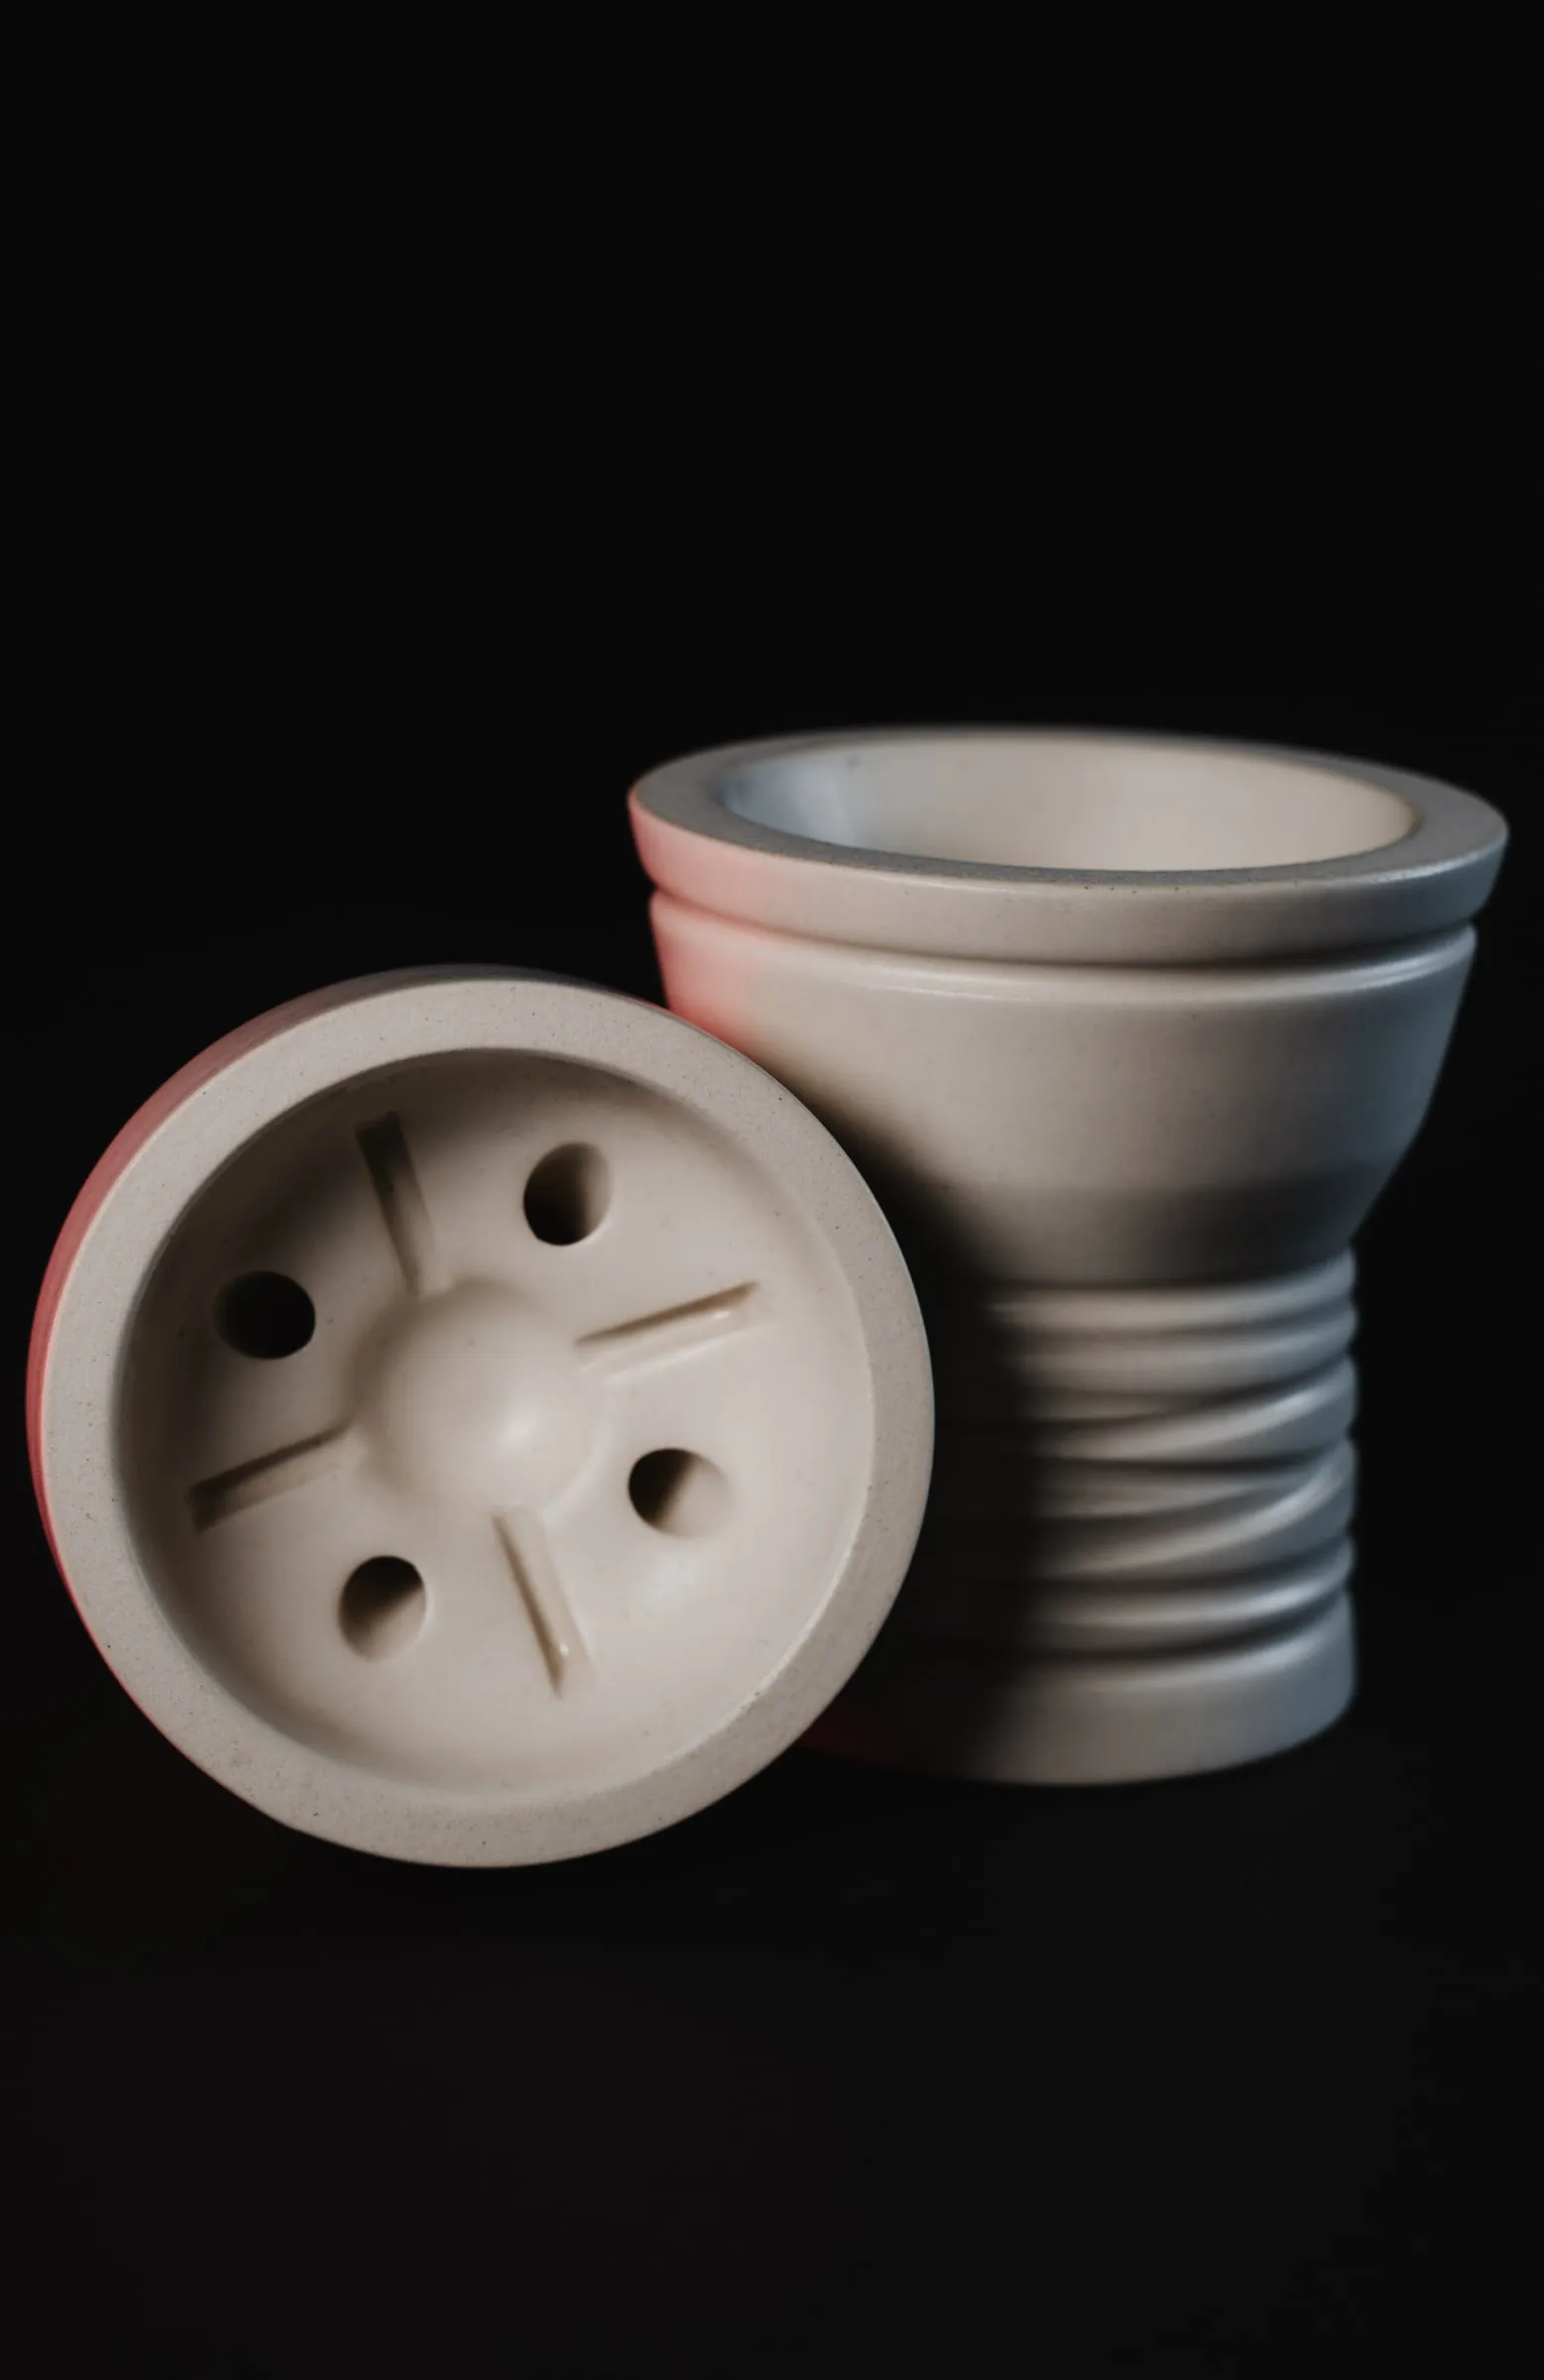
I photographed Totem’s bowls with a single light and a black background. This article walks through the 06 decisions I made in that session, with a setup you can repeat on a table, a light table to try every position and a PDF to take to the shoot.
- 01
- 01
- 06
- 01
Seen from above. The light, behind and to one side of the piece. The black card blocks the light that would reach the lens. The camera, at the height of the piece.
A table, one light and a black background. Nothing else.
A small LED panel, a flash with a diffuser or even a desk lamp. Just one: the second almost always gets in the way.
Card, fabric or a dark wall. Black swallows whatever you don’t light, and that is exactly what we want.
The most used tool and the cheapest. It blocks the light you don’t want: it trims the rim and darkens half the photo.
Bounces a little light back into the shadow when the object disappears completely. Use it far away, so it barely shows.
A colour gel in front of the light, or a phone screen at full brightness next to the object. That is enough to tint a rim.
To compose slowly, repeat the framing with each piece and use slow shutter speeds without anything shaking.
Drag the light around the piece and watch what happens to the rim.
The same bowl with the light in five places. What changes is not the amount of light but where it comes from. With the light behind and to one side, only the rim lights up: that is how the photos in this article were made.
Side backlight
The light comes from behind and from the side. Only the rim lights up: this is the rim light of these photos.
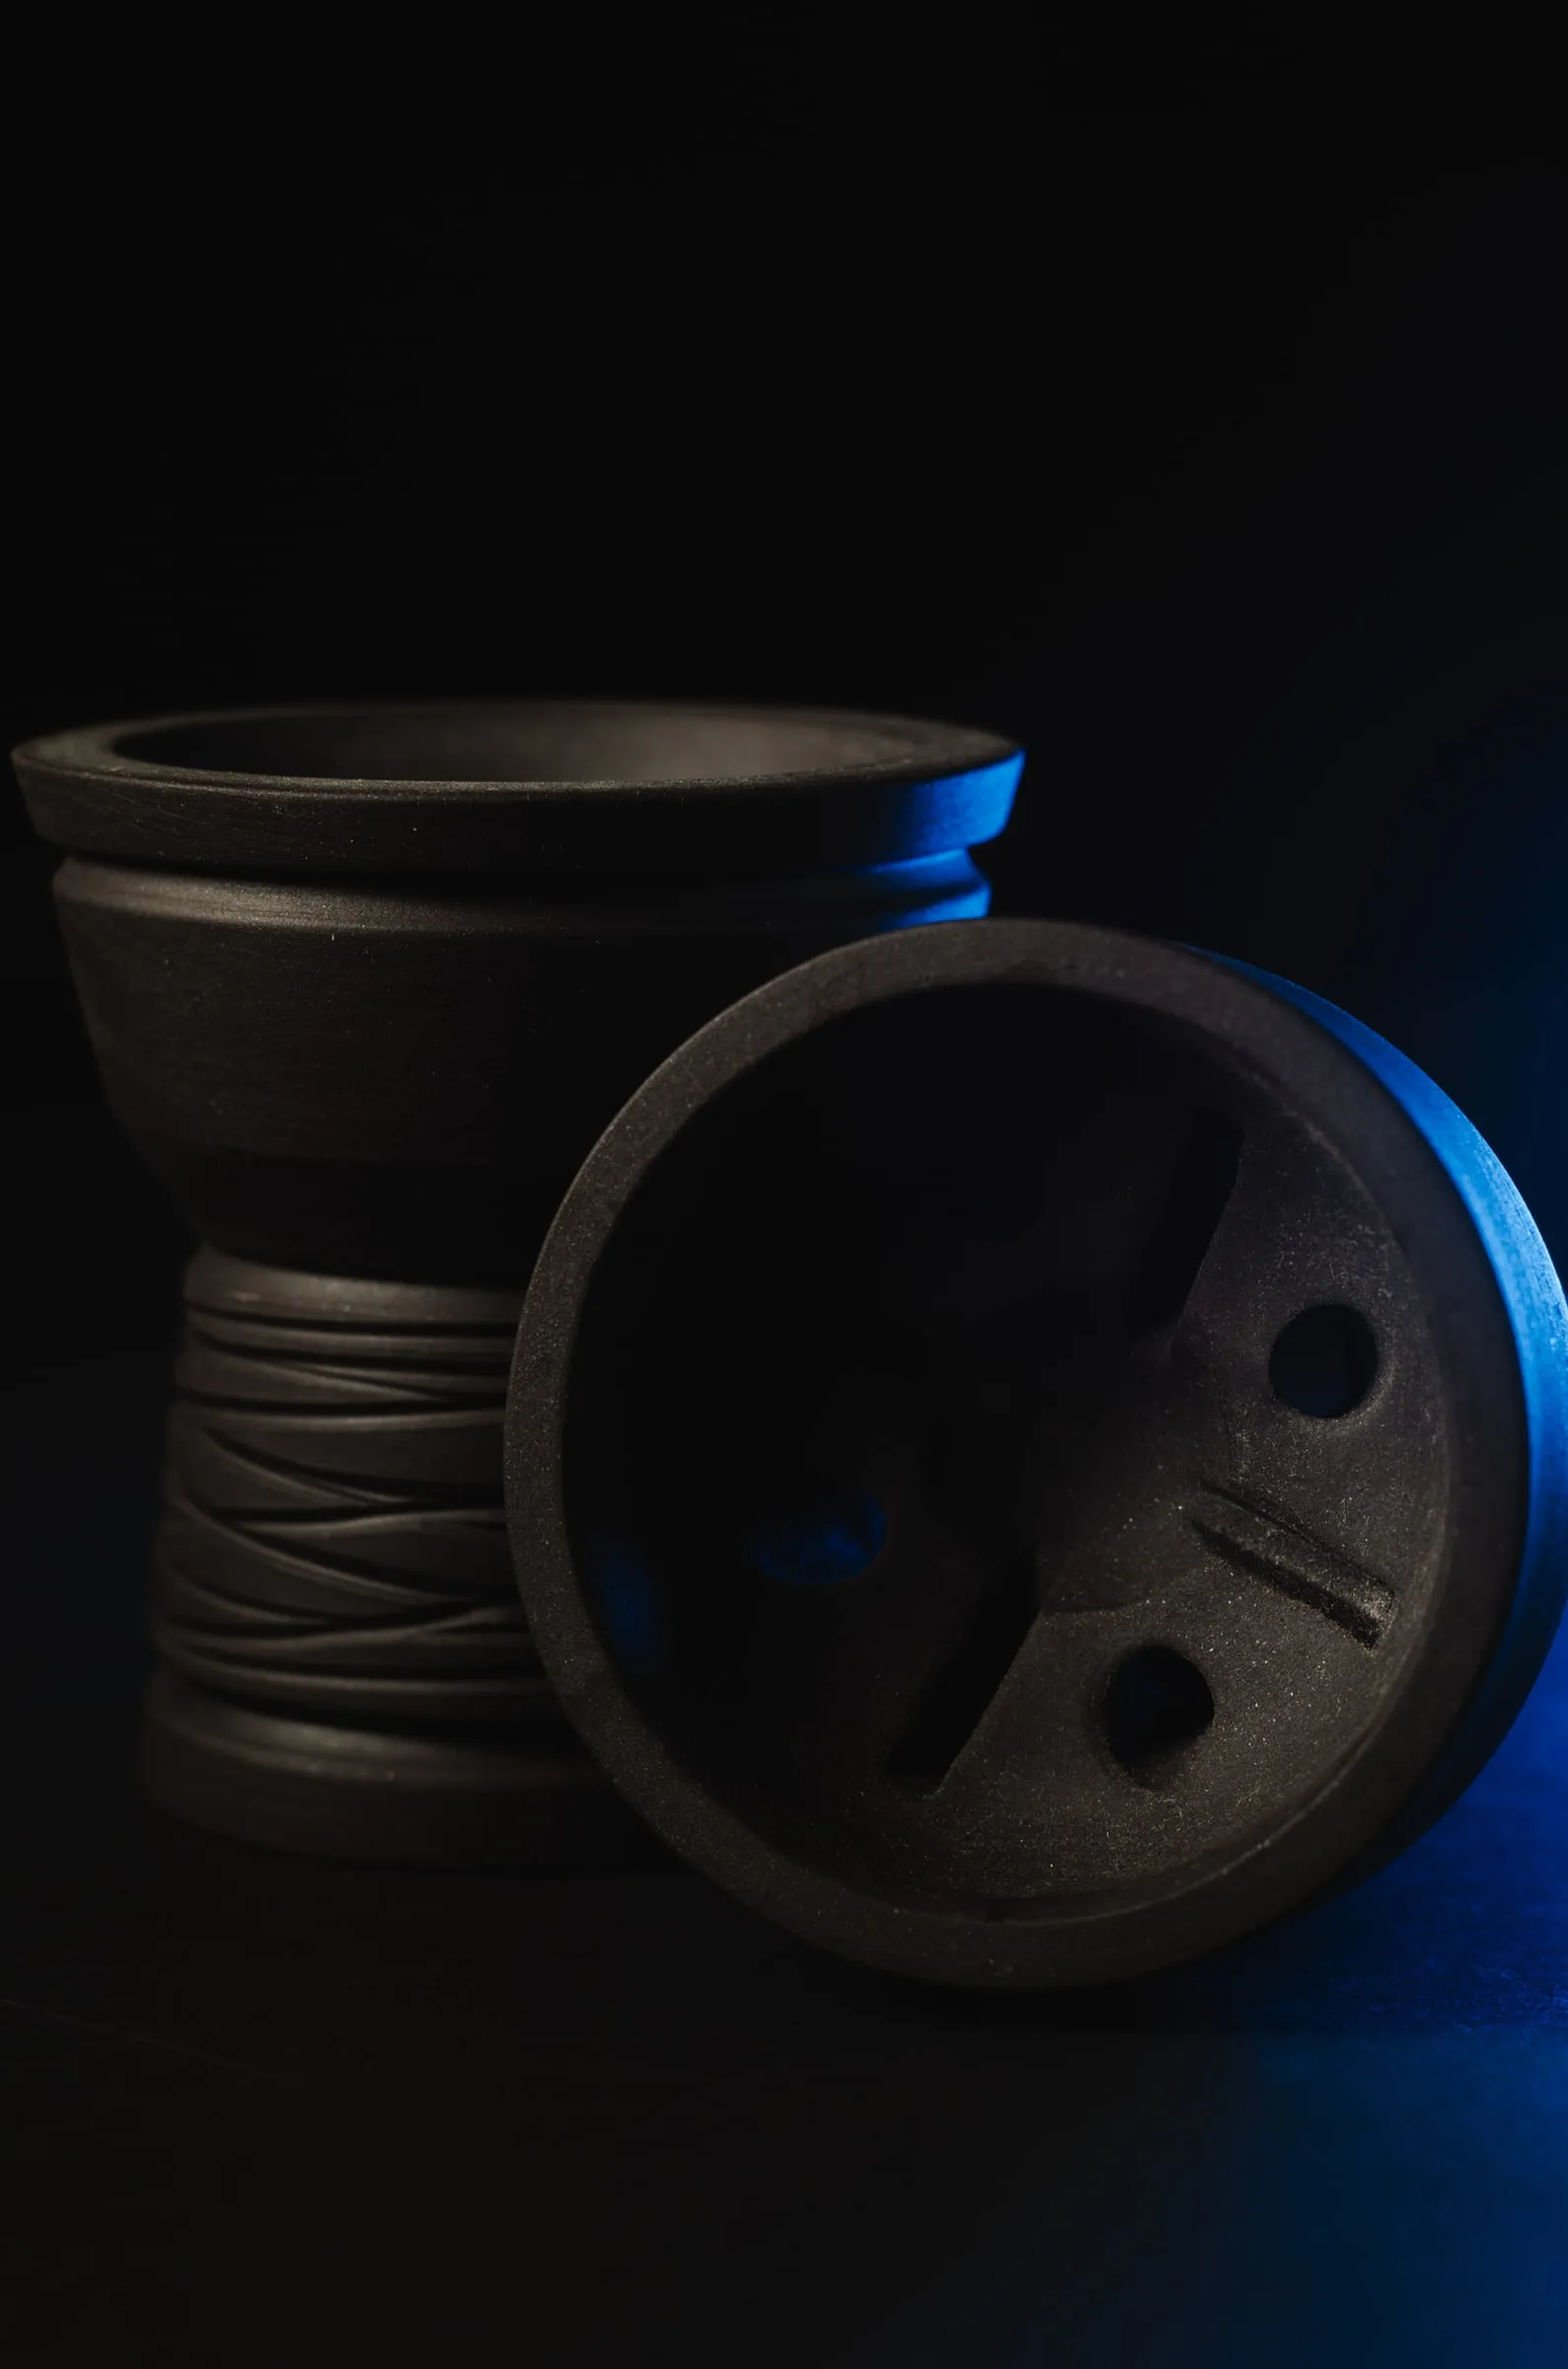
01 · Black bowl with a blue rim of light on a black background. 01
Rim light.
On a black background, a dark object disappears. What separates it from the background is not more light but light in the right place: behind and to one side, so that it grazes the outline and leaves the rest in shadow. That lit rim draws the whole shape with a single line.
To get it, the light goes at about 130 degrees from the camera, a little further back than to the side, and slightly above the piece. A black card between the light and the lens keeps light from hitting the glass and washing out the blacks.
If the rim eats the object, move the light away or lower it. If the rim disappears, bring it five degrees closer to the camera axis and look again.
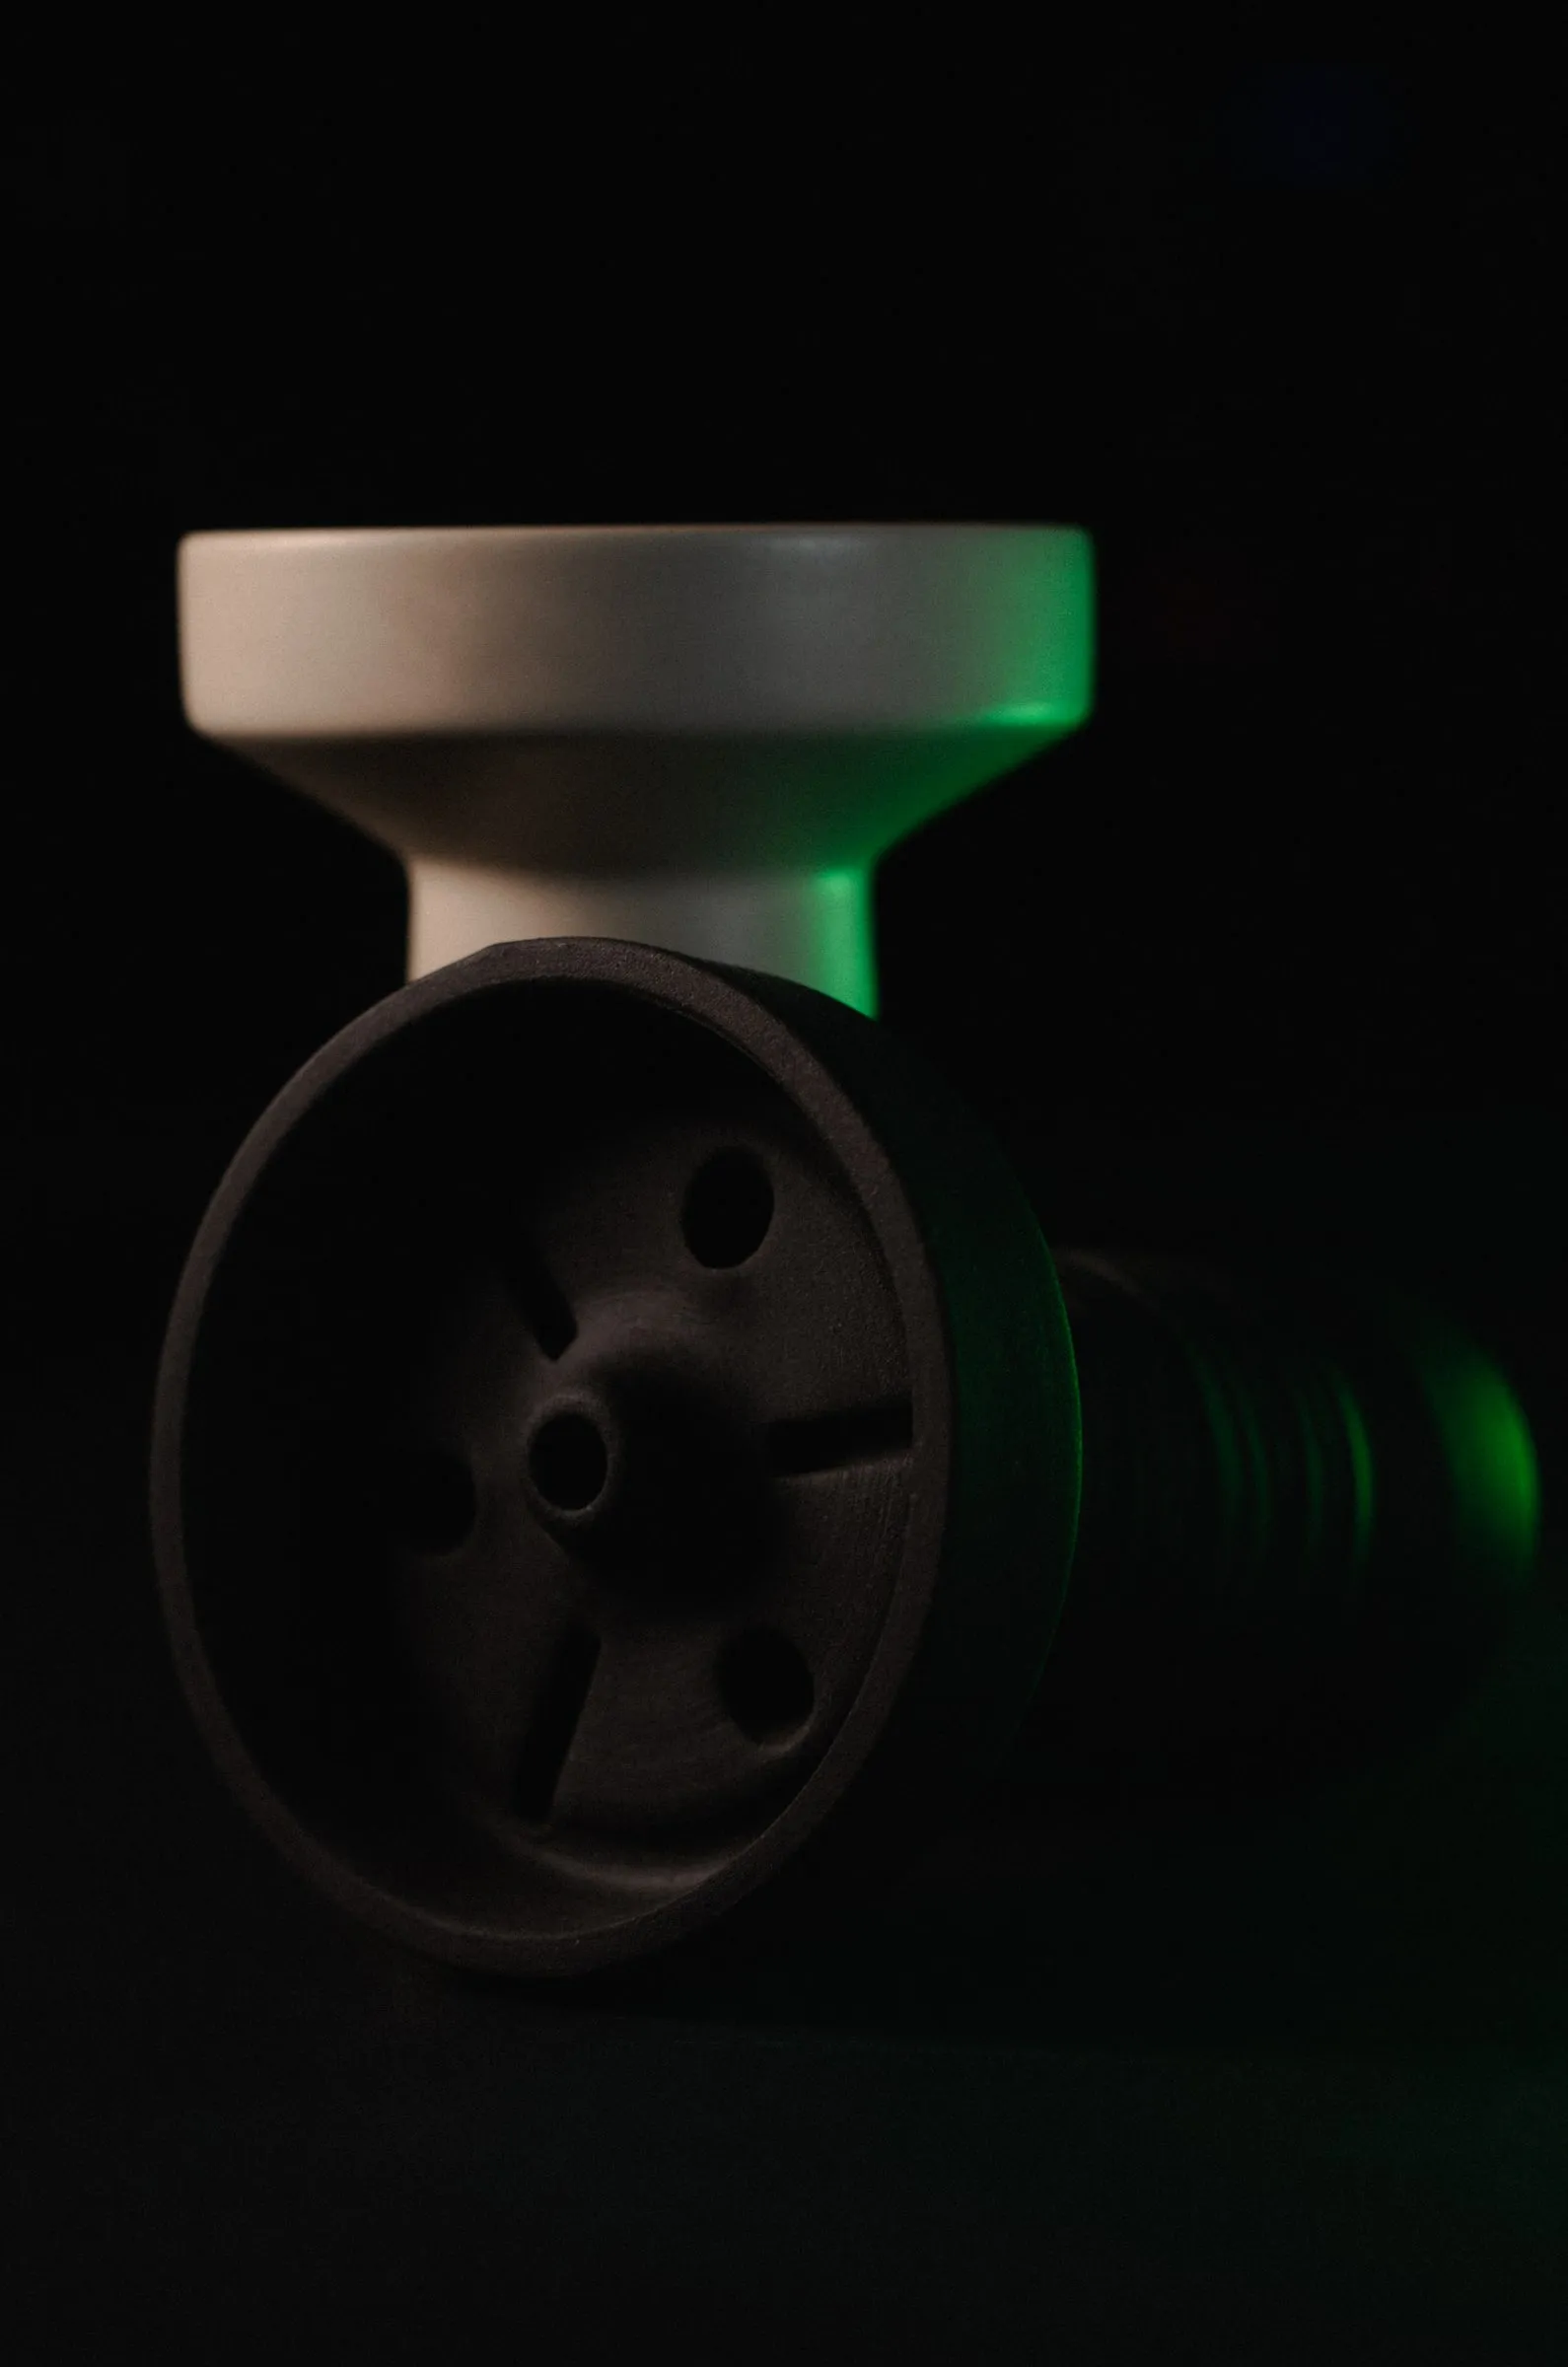
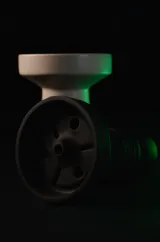
02 · Bowl with a green rim of light on a black background. 02
One colour per piece.
Blue, green, red. When the photos are seen in a row, colour tells one bowl from another before you read anything. Each piece gets one colour and only one: two colours in the same photo compete and neither wins.
The colour comes from a gel in front of the light or, without a gel, from a phone screen held against the object. The tones on the cards below were sampled from the photos themselves, not from a palette: that way the colour can be reused in the design of the post and everything matches.
Choose the colour by contrast with the piece, blue on warm ceramics and red on black. And check on a phone that the colour doesn’t clip when compressed.
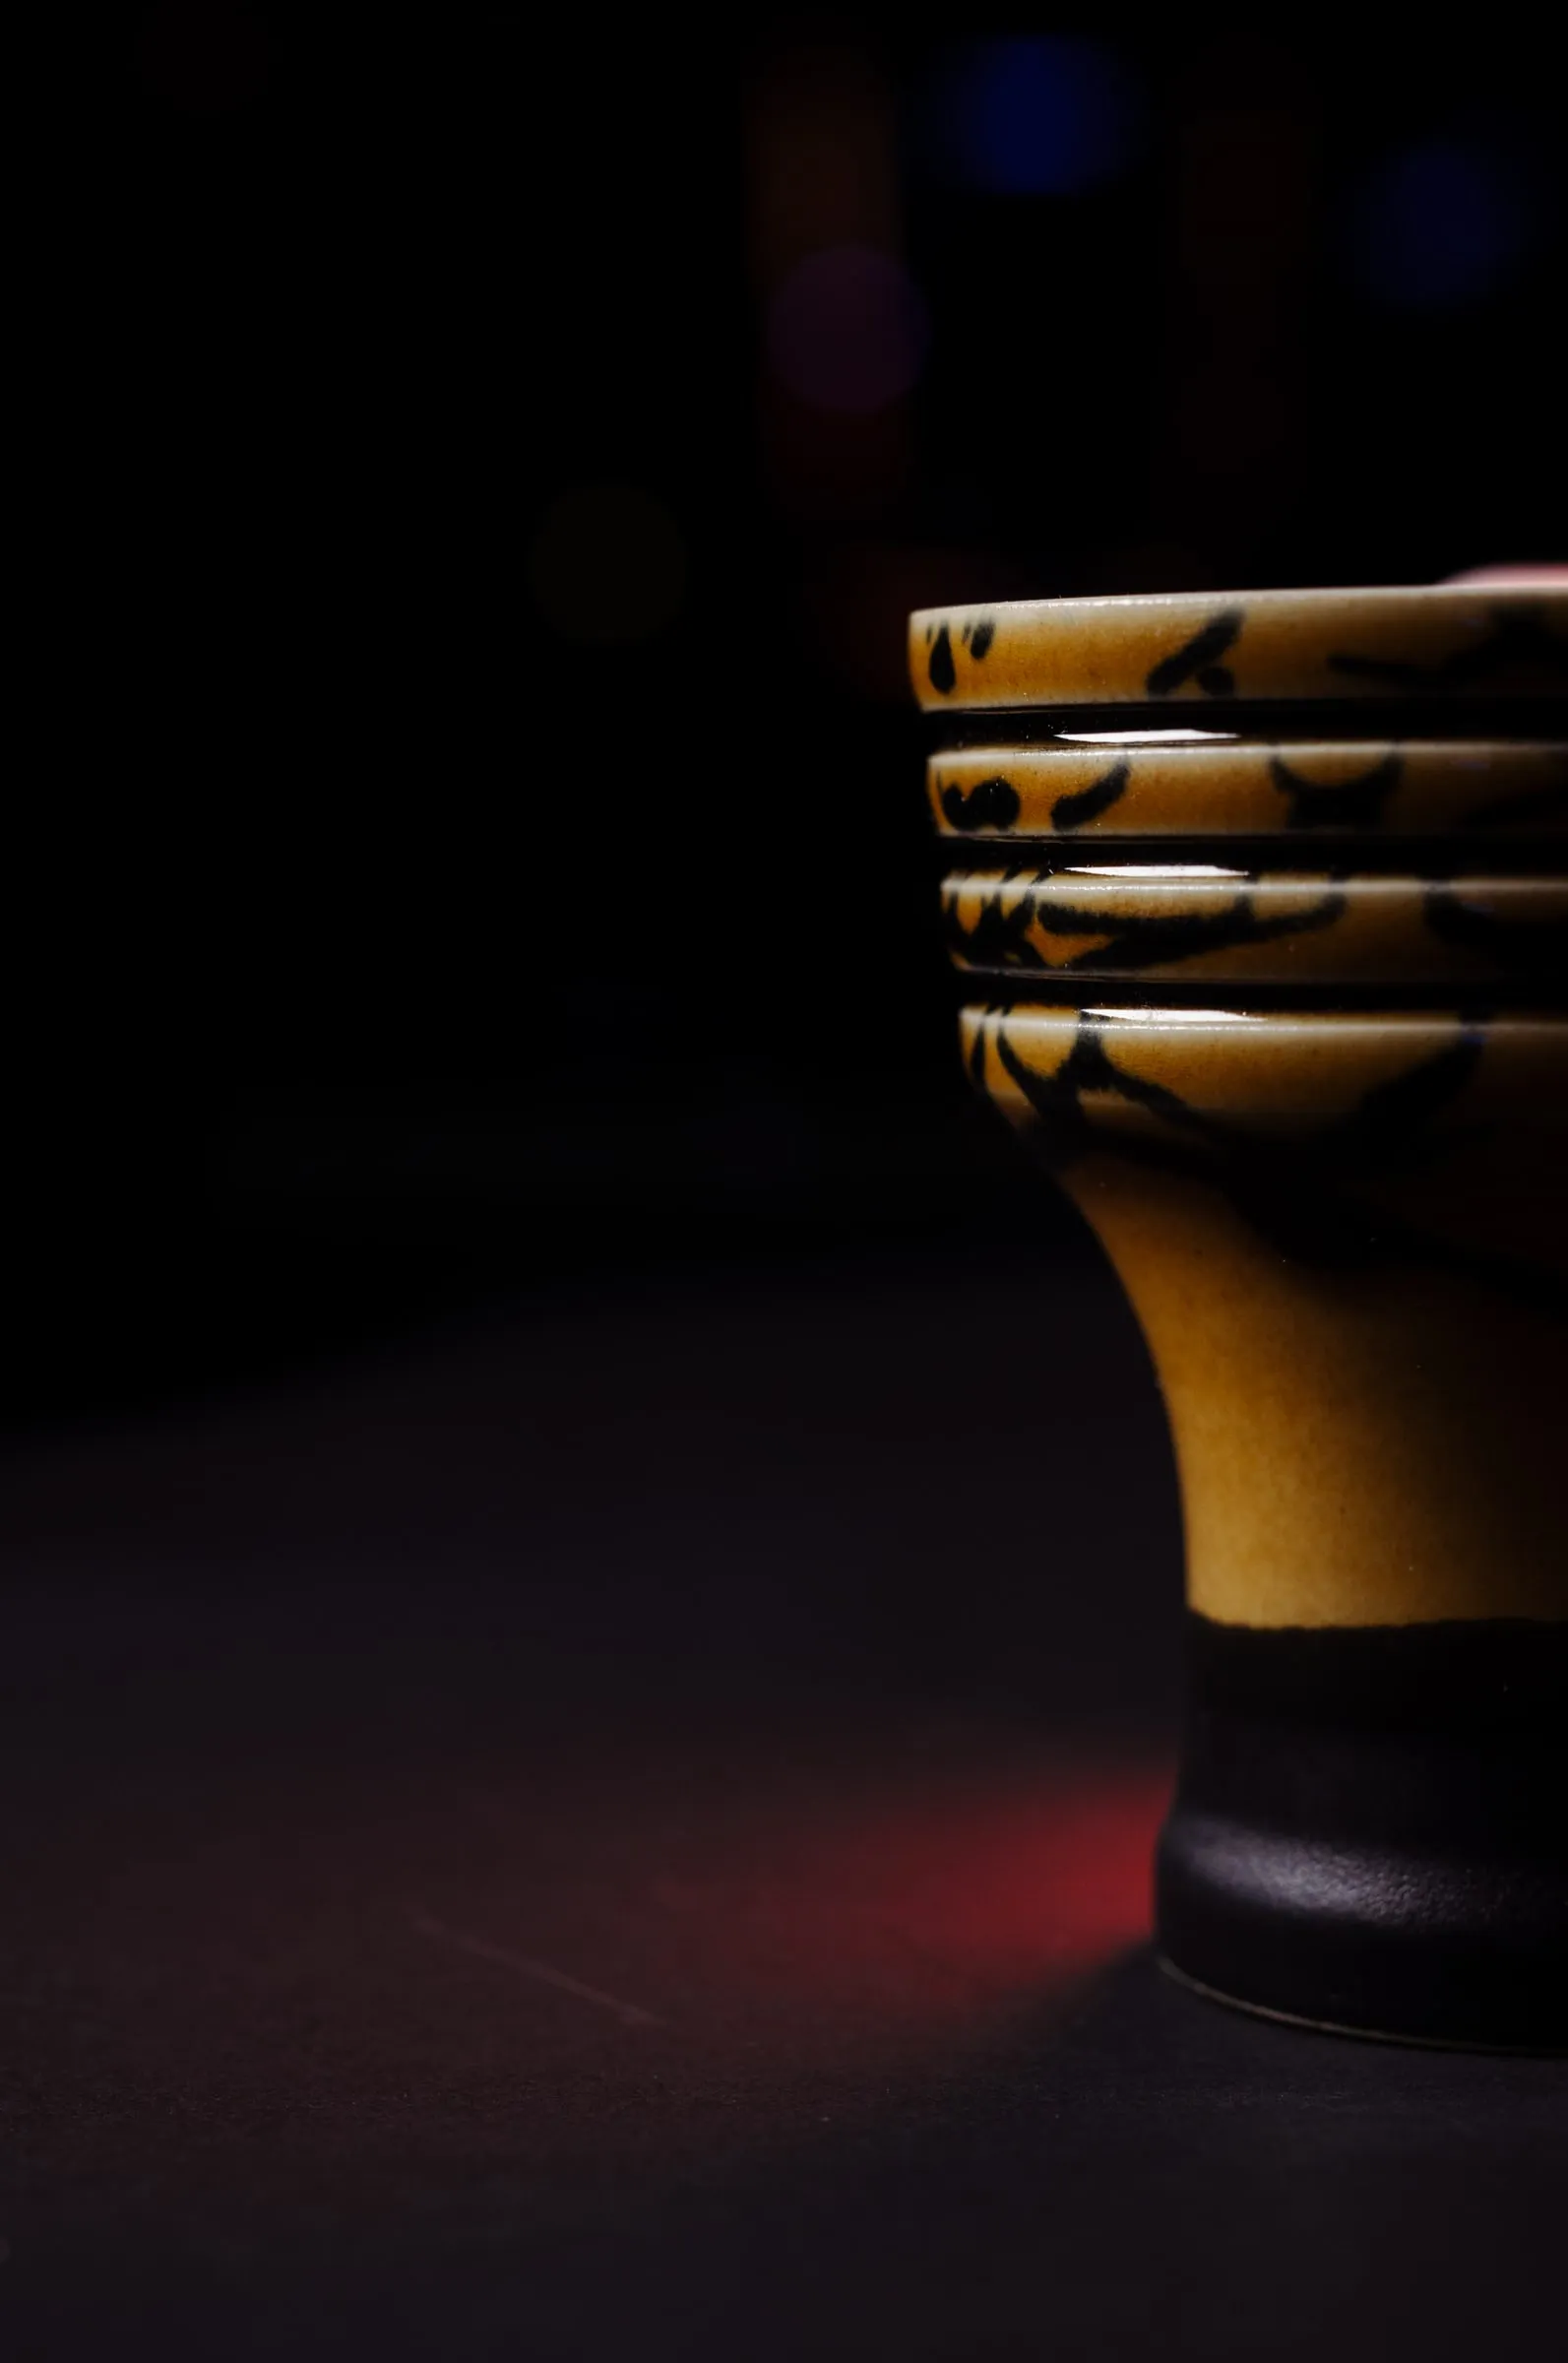
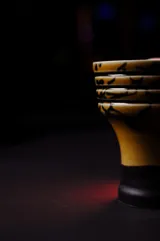
03 · Bowl with a red rim of light, placed in the right half of an almost black photo. 03
Half the photo in the dark.
Leaving half the photo empty takes the eye straight to the product. Black is not a gap: it composes. It gives air, marks the direction of the light and leaves room for text if the photo will carry any.
The piece sits in one half and the light comes in from the other, so the lit rim faces the empty space. If the piece were centred, the black would be a background; this way it is part of the photo.
Compose with the rule of thirds, but don’t be afraid to leave two thirds empty. In vertical 4:5 it works even better: the eye travels down the black to the piece.
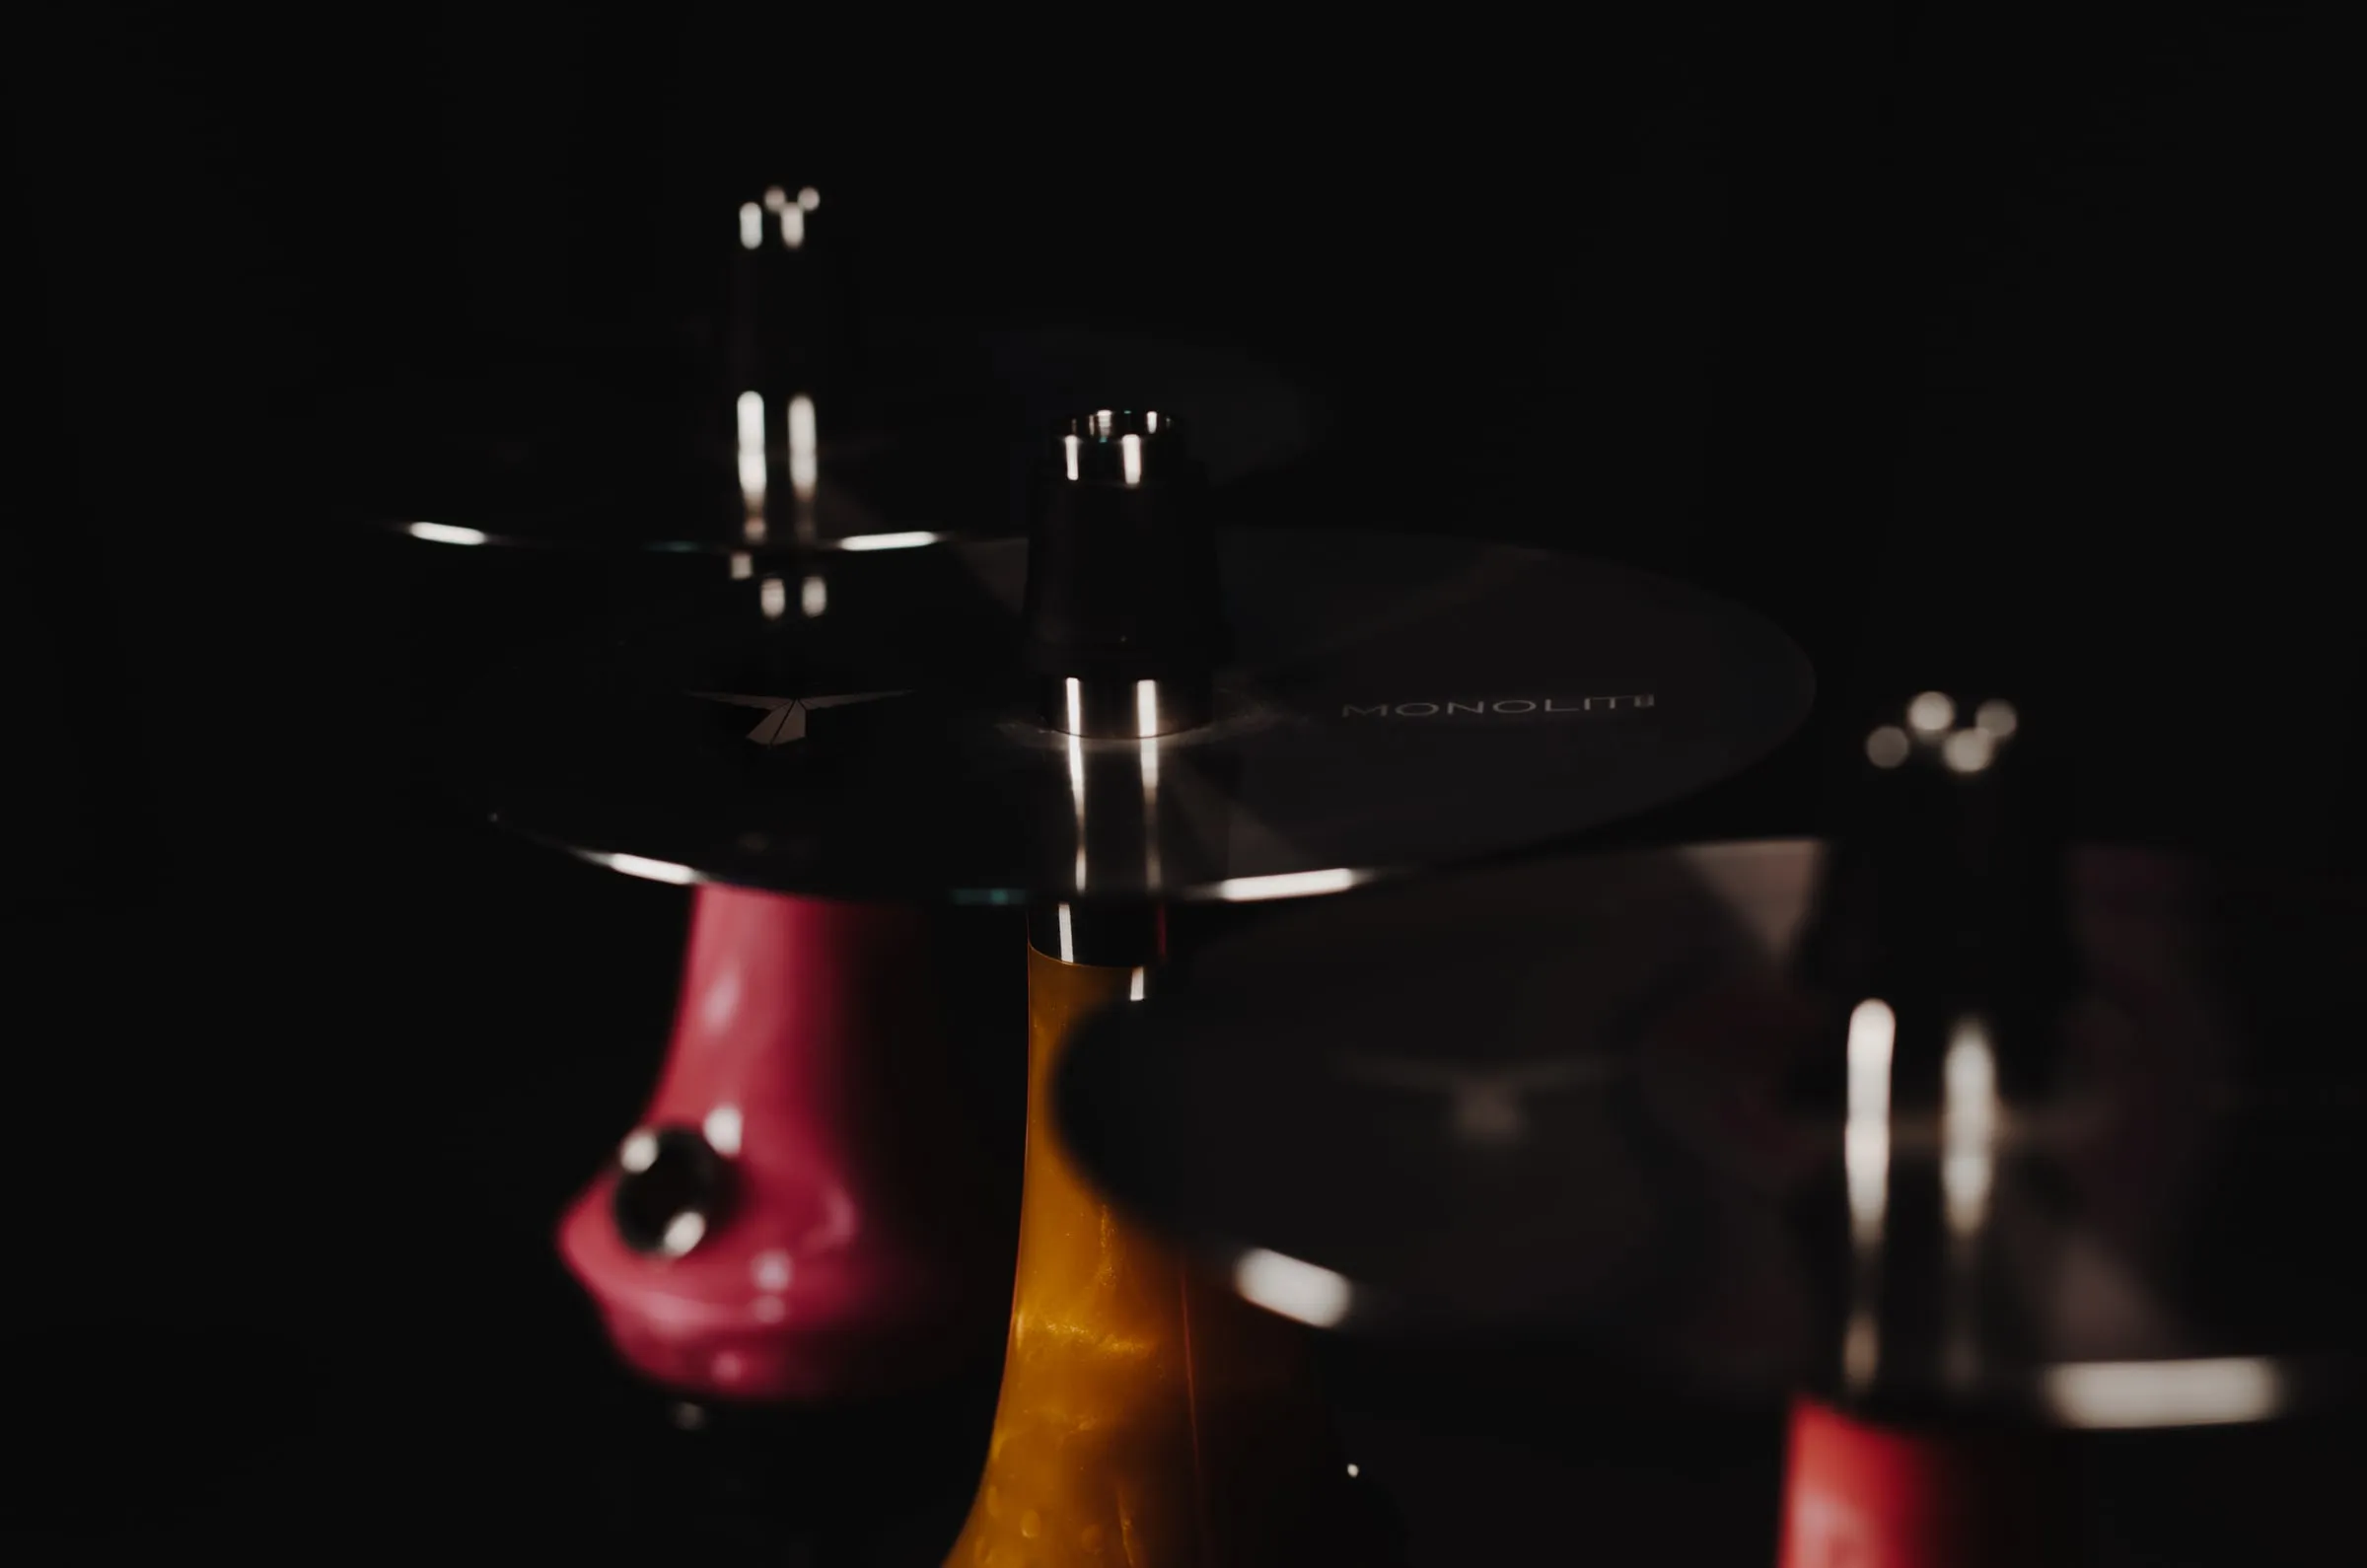
04 · Three bowls in a row; only the middle one is sharp. 04
A single plane of focus.
Three pieces and only one sharp. Blur puts things in order: it says what to look at first without arrows or captions. The other two are there, recognisable, but they don’t compete.
It comes from a wide aperture (f/2 to f/2.8), the camera at the height of the pieces and two hand-spans between each one. The closer the camera, the thinner the plane of focus.
Focus on the piece you want to sell that week. With the same layout you can make three photos by changing only the focus: three posts from one session.
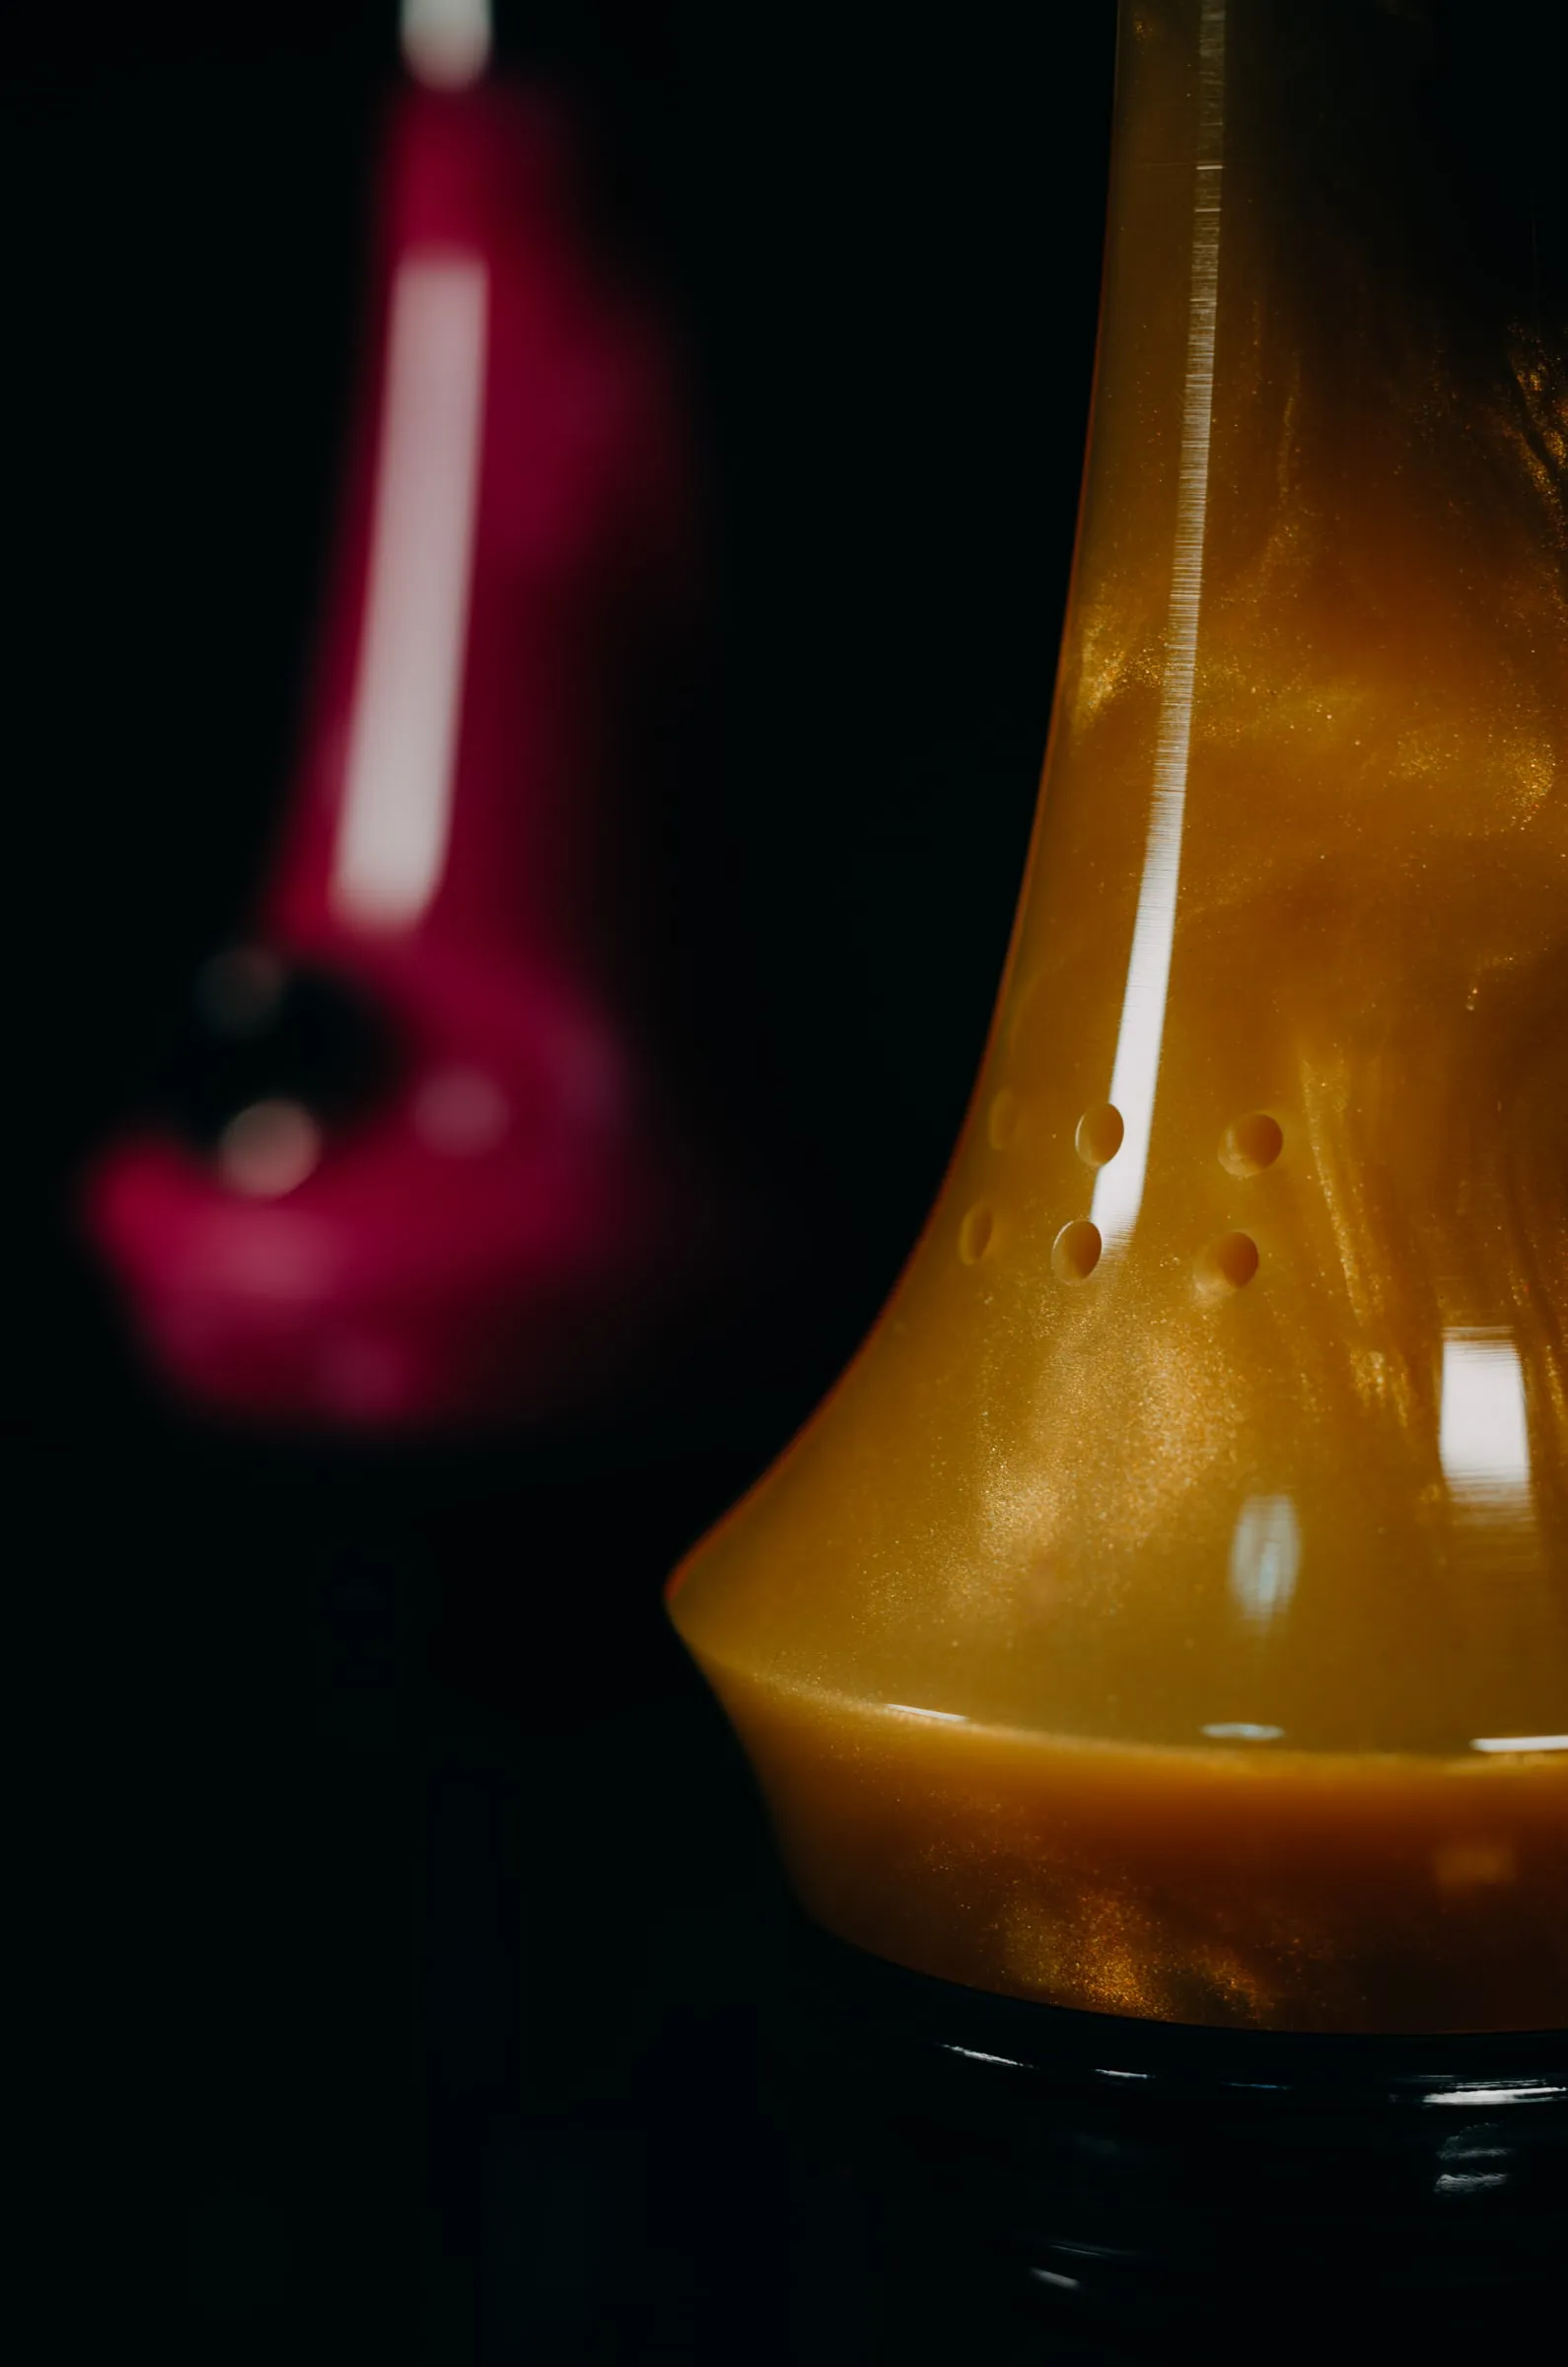
05 · Move over the photo to see it up close 05
Bring out the detail.
Up close, the resin shows its pearly sheen. What goes unnoticed in the shop becomes an argument in the photo: the texture, the grain, the finish that justifies the price.
For the detail I bring the light in until it grazes the surface, almost parallel to it, and use the longest lens I have or an extension tube. Raking light is what brings out relief; front light flattens it.
Always shoot one detail photo per product. In a carousel it is the one that makes someone stop; in an online shop, the one that answers how it feels to the touch.
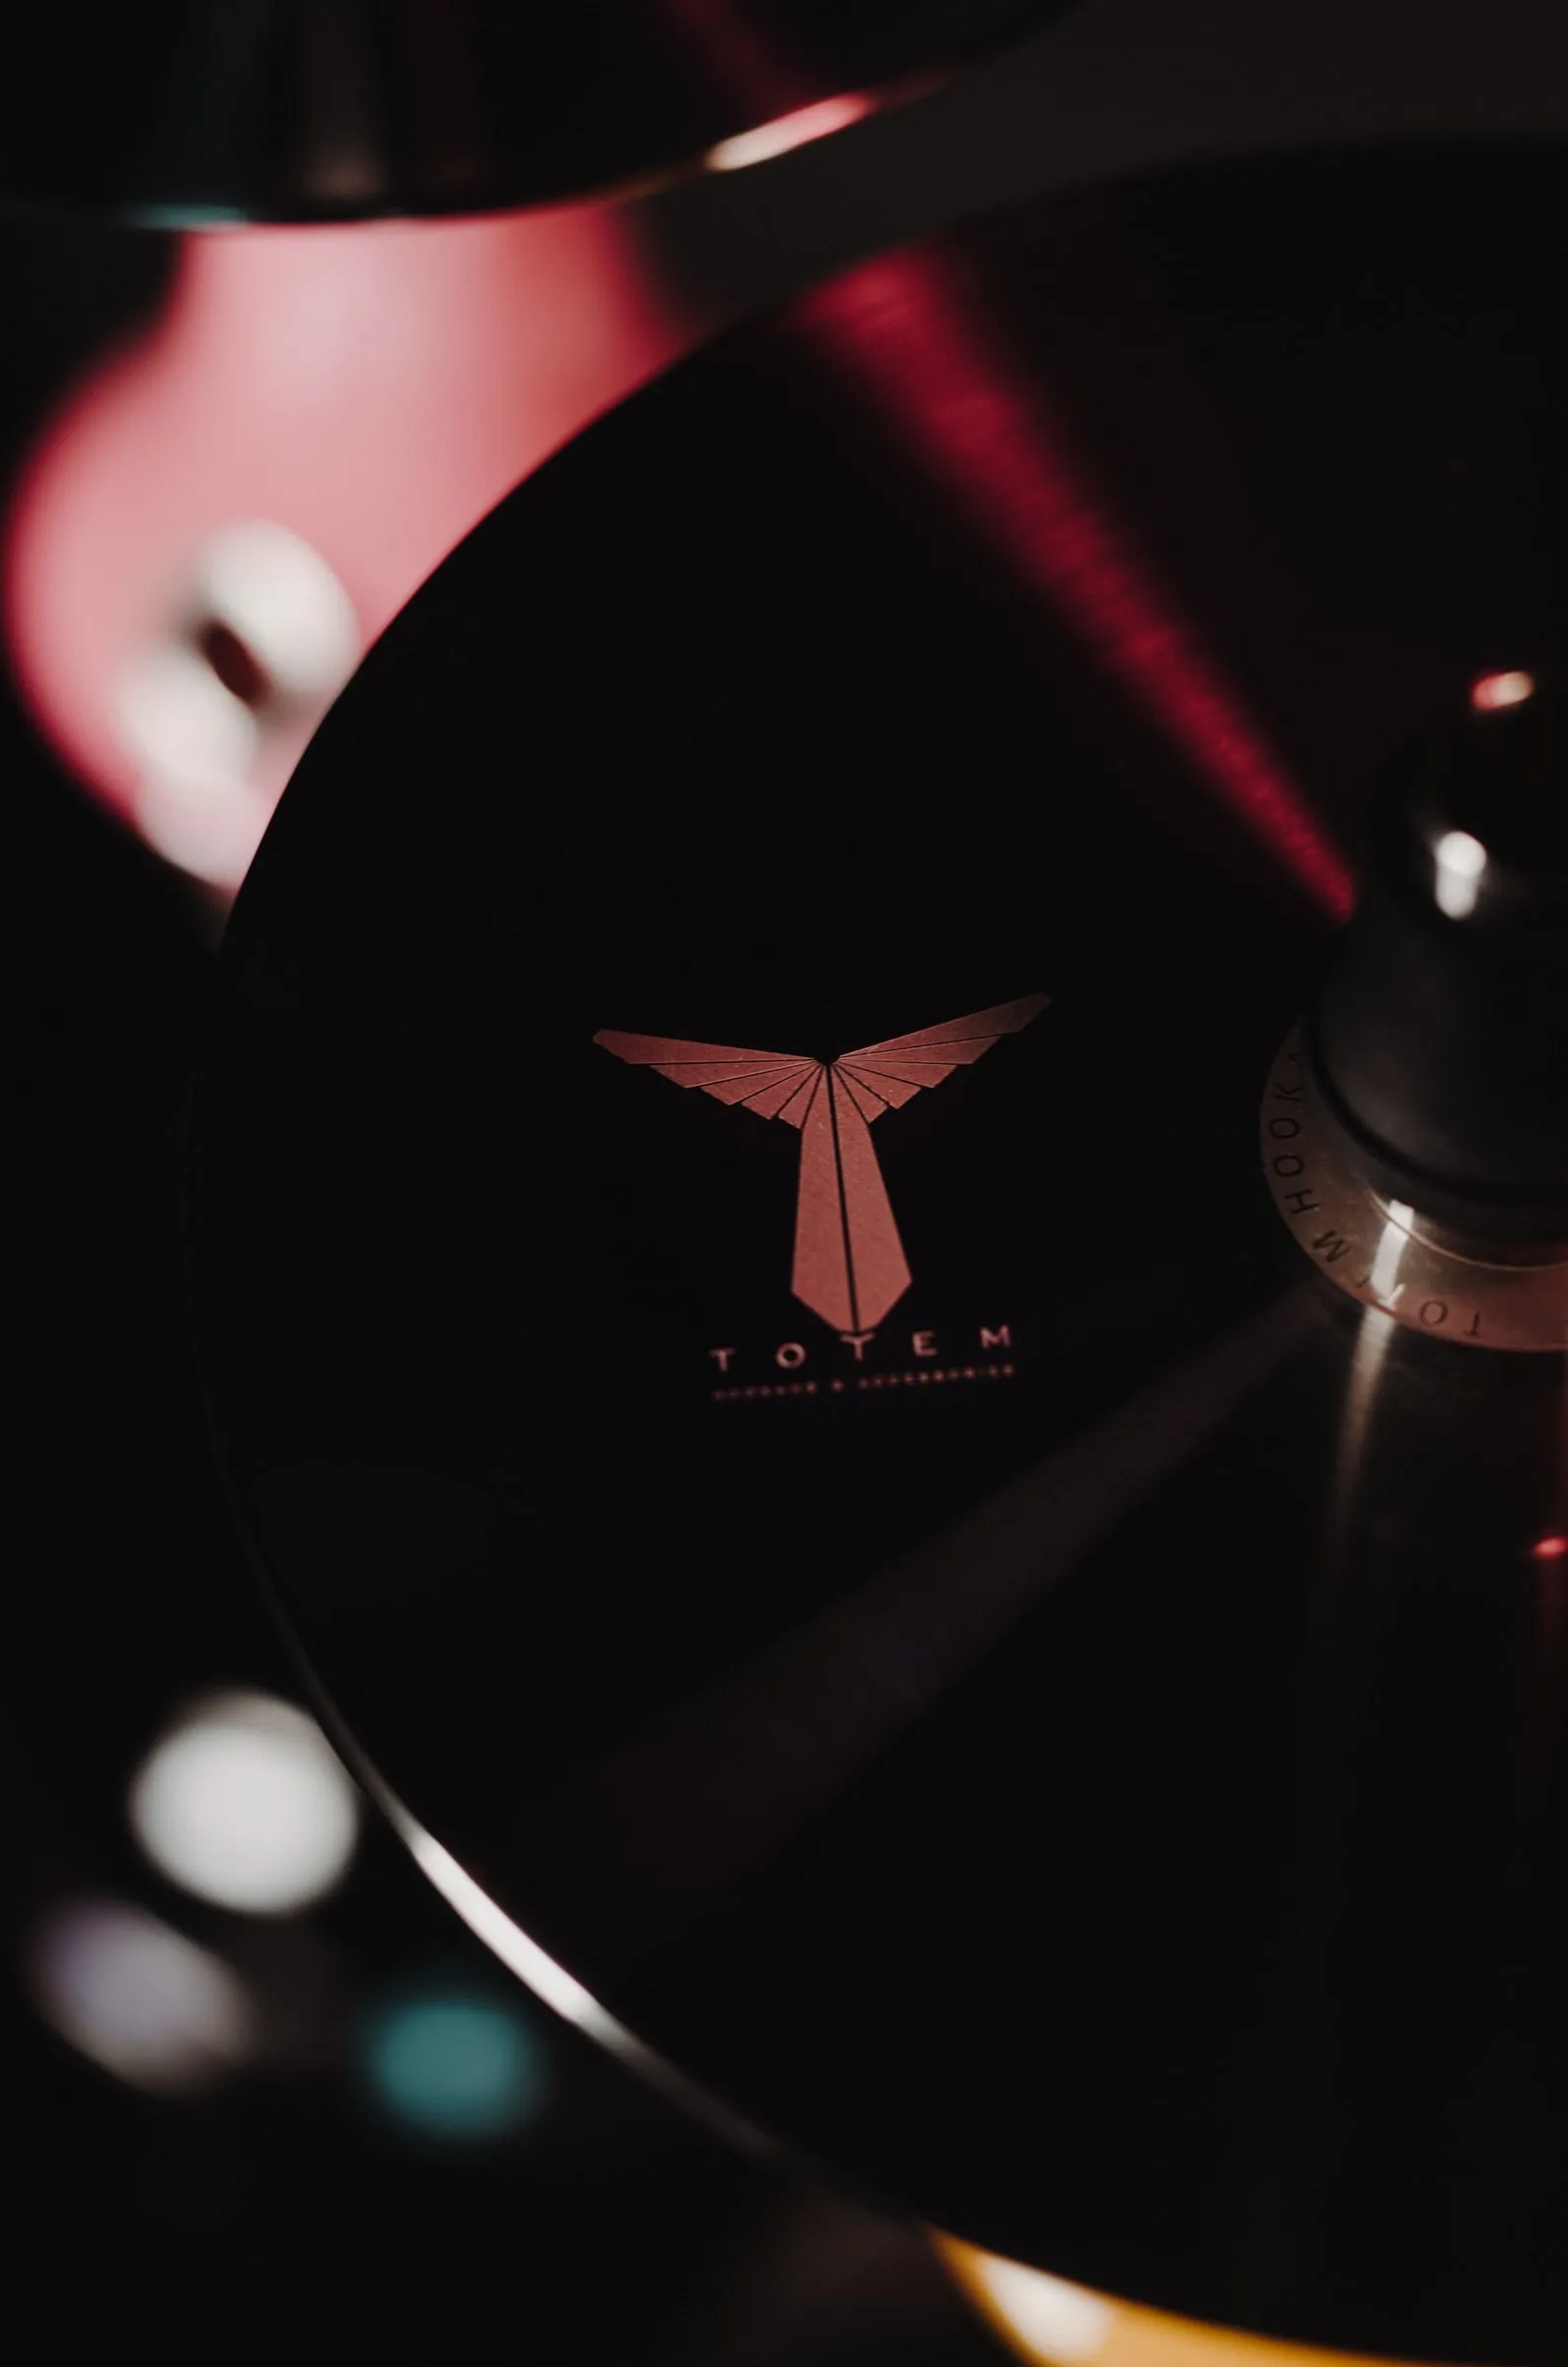
06 · Bowl with the Totem logo visible on its base. 06
The logo, last.
First the object; then who signs it. If the logo opens the series, the series is an advert and people scroll past. If it closes it, it is a signature: whoever got that far already wants to know whose it is.
The logo photo is lit like the others, with the same rim and the same black, so it doesn’t look like a poster stuck on at the end. Only the framing changes, moving in until the brand reads small.
On Instagram, the first photo of the carousel decides whether someone swipes. Start with the cleanest one and keep the logo for the last.
= advert
= signature



Before you shoot, six questions.
Take it to the shoot.
The setup, the six decisions and the checklist in a few pages, to have in front of you while you place the light.
Short answers to the most common questions.
What light do I need to photograph products?
One. A small LED panel, a flash with a diffuser or a desk lamp will do. What changes the photo is not the power or the number of lights, but where it comes from: from the side or from behind, never from the camera.
Black background or white background?
It depends on what you sell. White is the online-shop standard and forgives no shadows. Black asks for less gear, hides what you don’t light and lets a rim of light draw the shape. On social media, black stands out more in the feed.
What is rim light?
A light placed behind the object and to one side, lighting only its outline. It separates the piece from the dark background and draws its silhouette with a line of light. In film it is called backlight or kicker.
How do I make coloured light without gels?
With a phone screen at full brightness showing a single-colour image, held against the piece on the side you want to tint. Another option is a colour smart bulb in a desk lamp. You can shift a white light in editing, but it shows more.
Can I do it with a phone?
Yes, with continuous light (no flash). Lock the exposure by tapping the lit area, lower the brightness a touch so black stays black, and use portrait mode or get close to blur the background. The setup is the same.
How many photos does a product need?
For a social post, three: a general one with rim light, a detail and one in context or of the series. For an online shop, five or six, keeping the white or the black constant in all of them.
What camera settings do I use for product on black?
Low ISO (100 to 400), aperture between f/2.8 and f/5.6 depending on how much blur you want, and whatever shutter speed the light asks for on a tripod. Meter on the lit rim, not on the background, so the black doesn’t turn grey.