The venue guide
Light, time of day and framing to photograph your bar, shop or restaurant with your phone. With the 10 shots I film in every venue and the checklist for the day of the shoot.
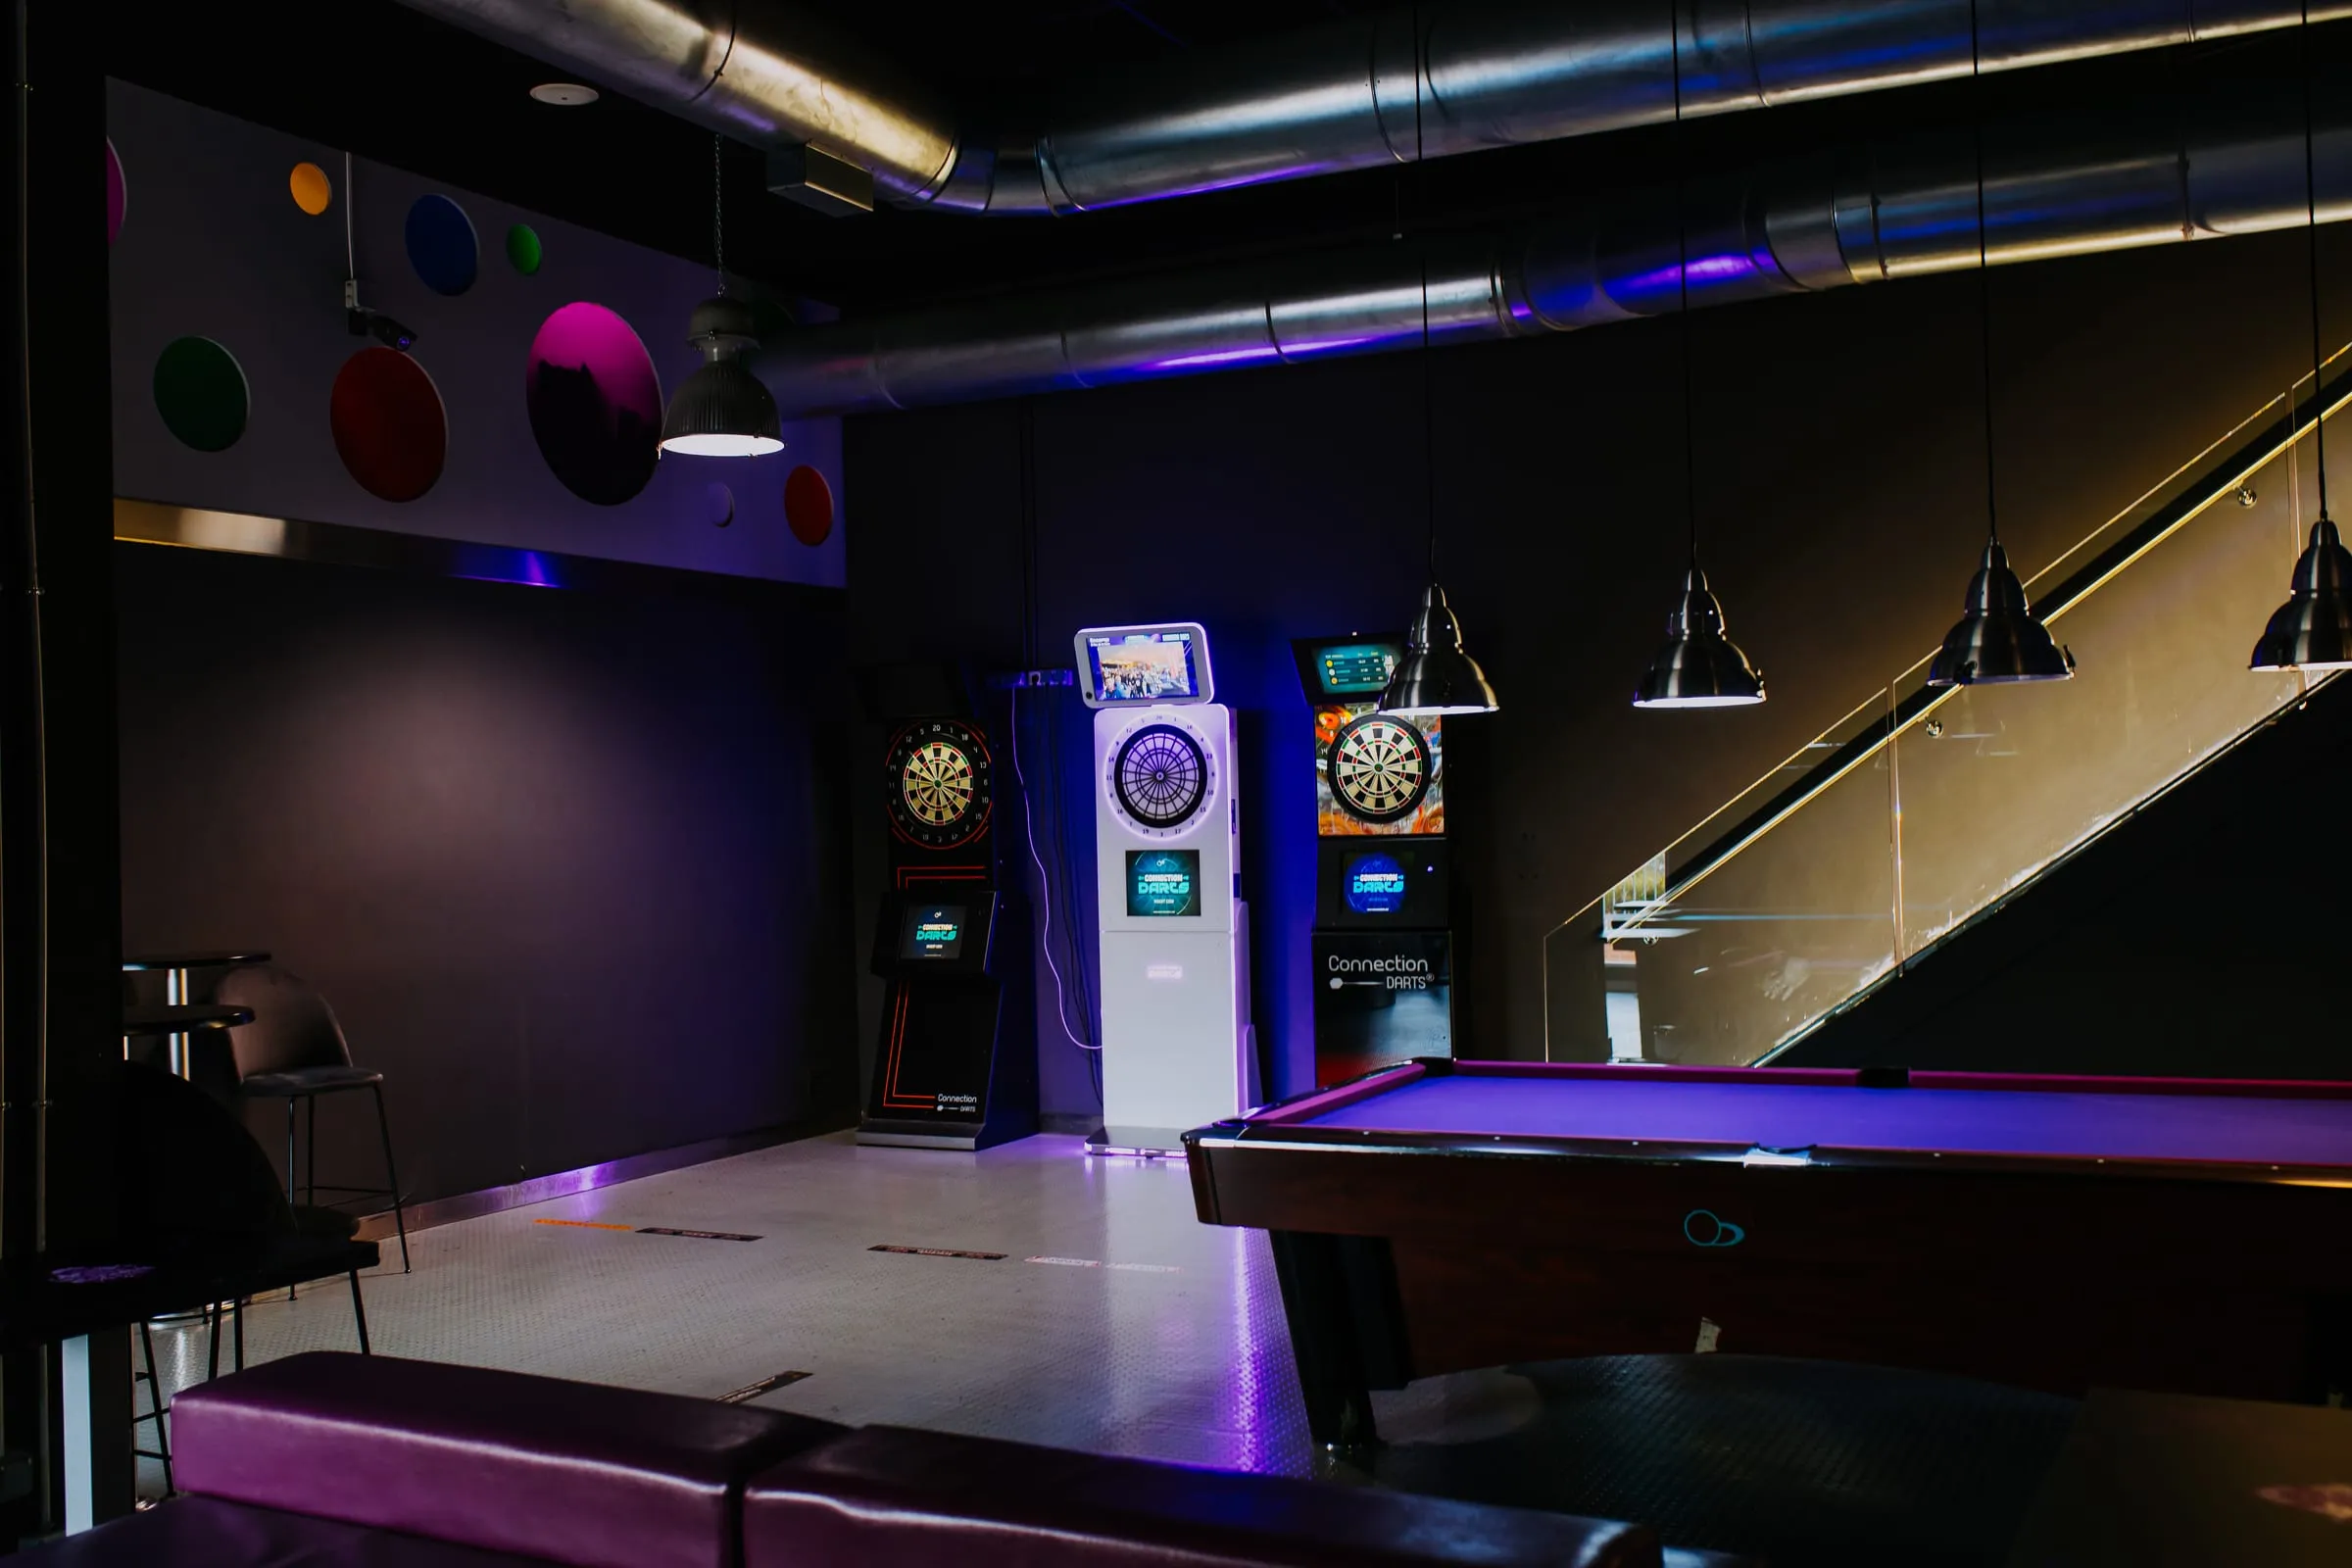
When you have time to film, the venue is empty.
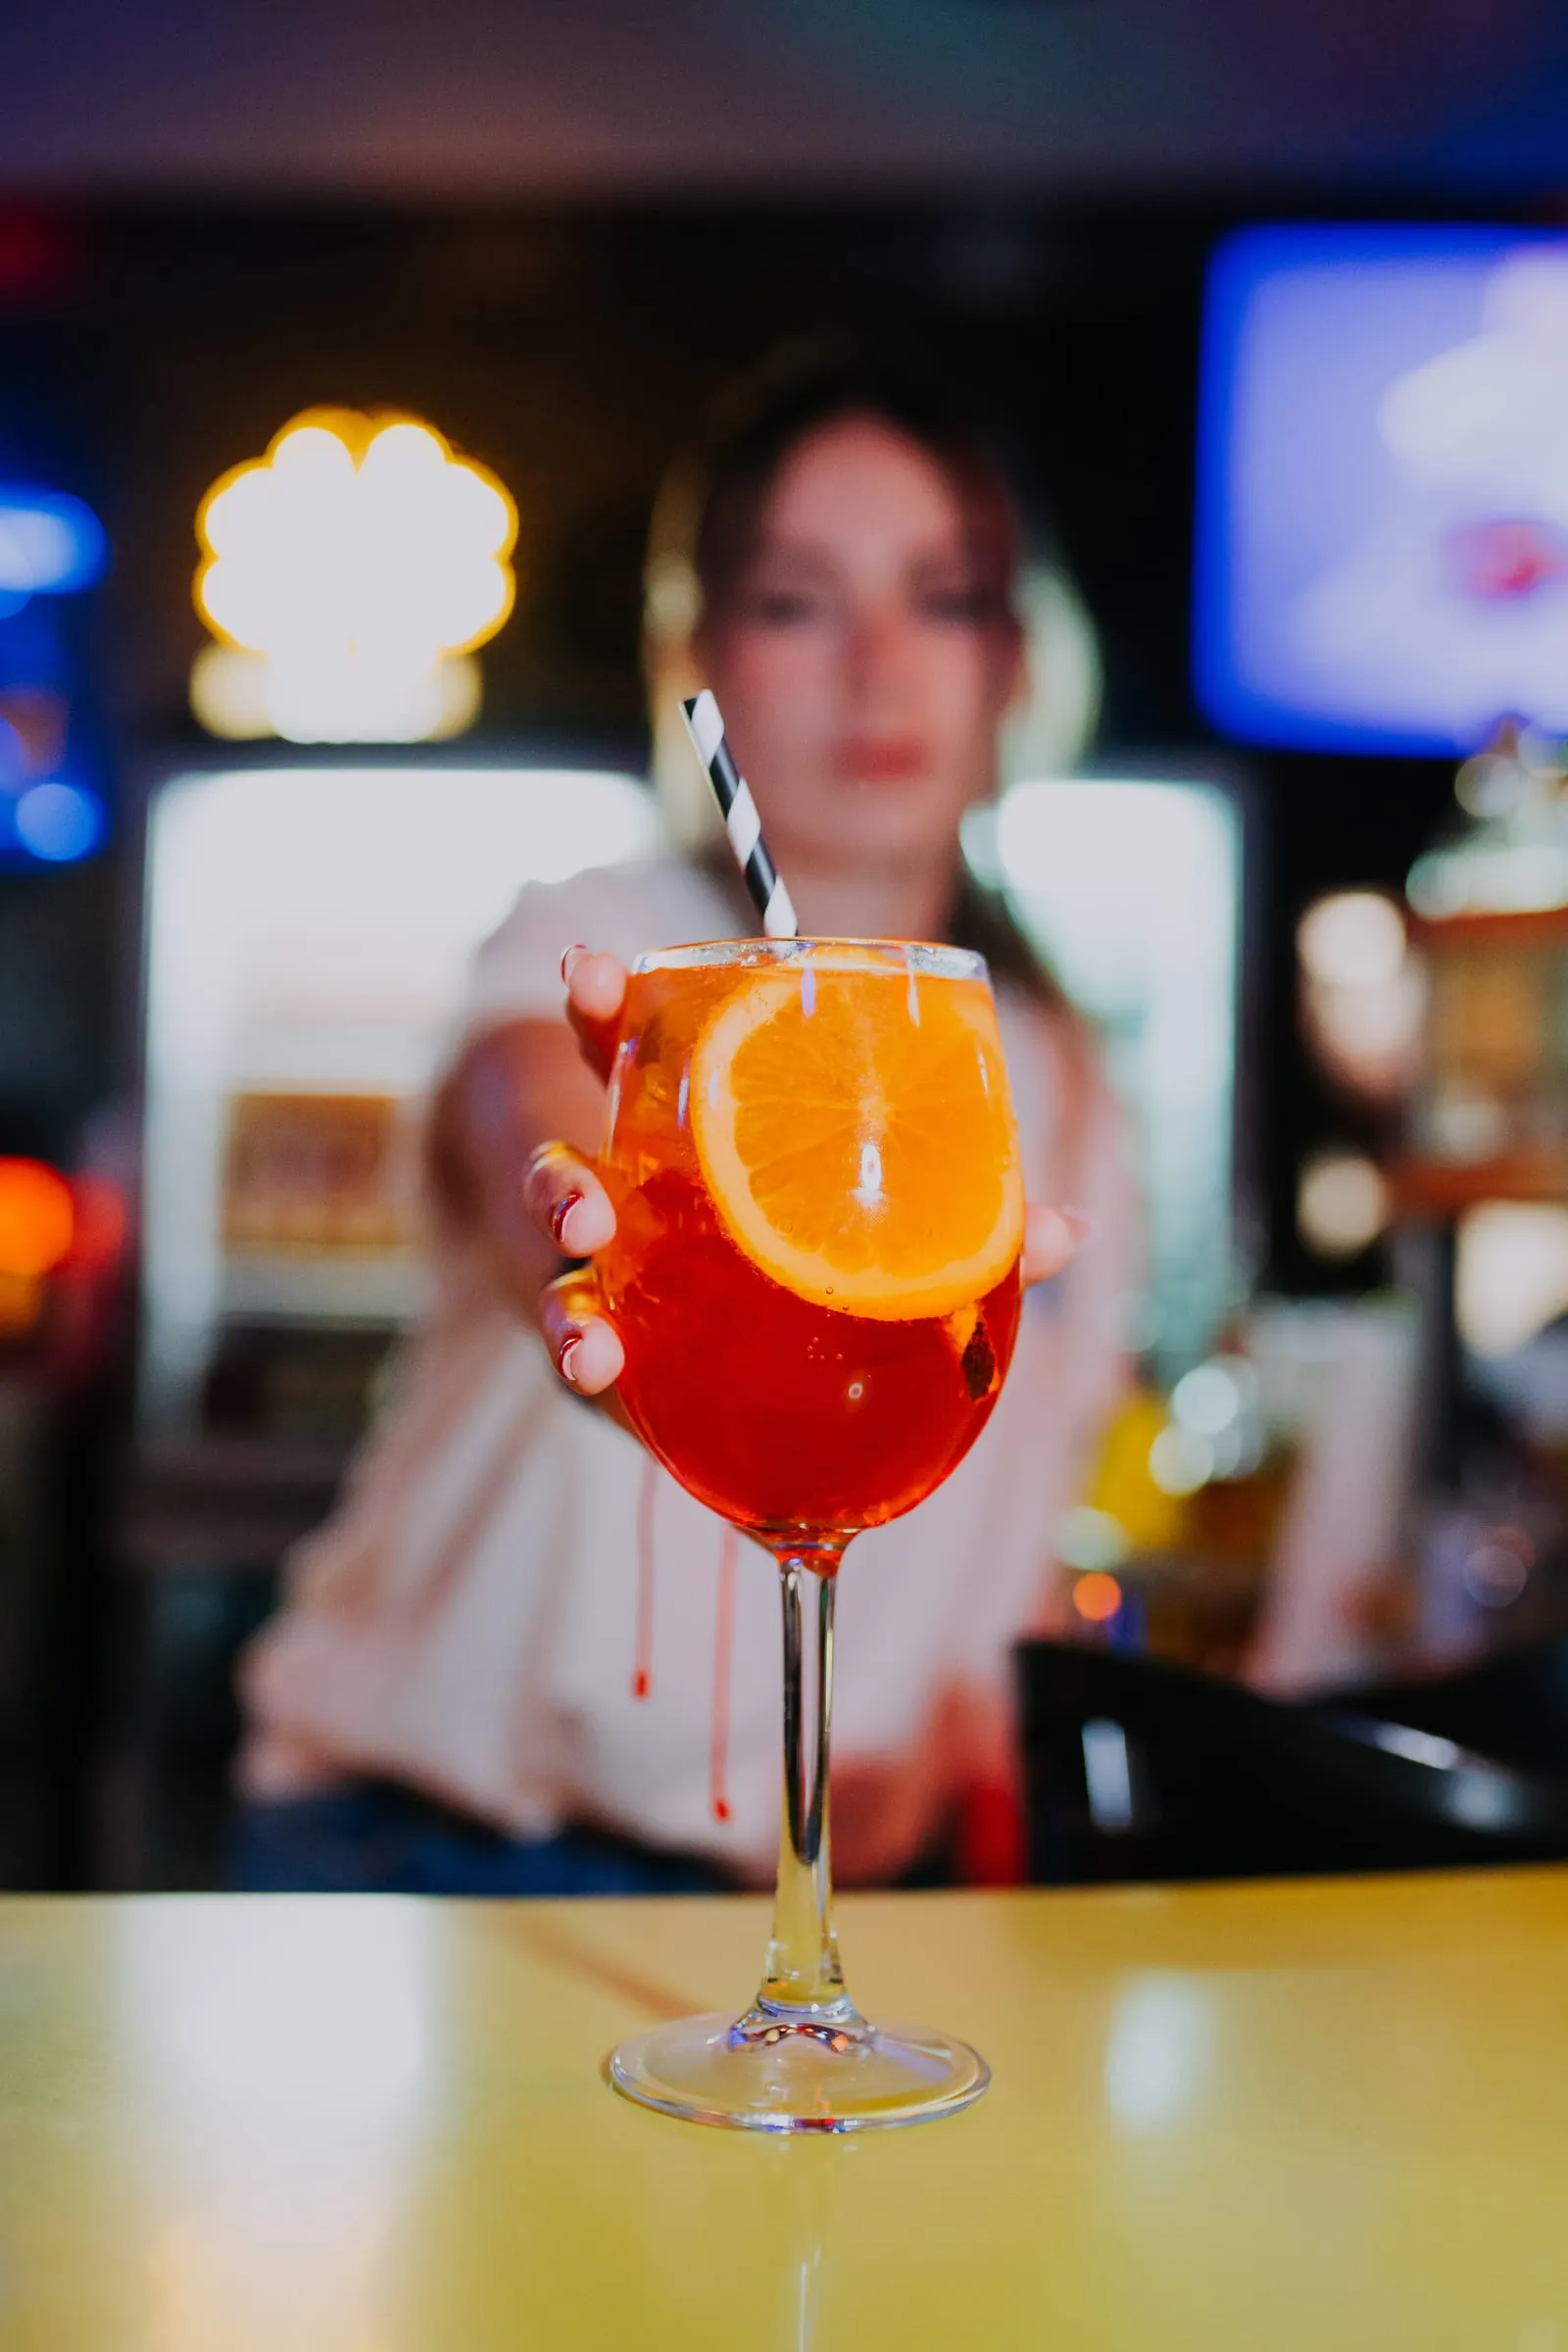
When something is happening, the venue explains itself.
It is hardly ever the venue. It is the time of day you show it, the ceiling lights and a phone held at the wrong height. This guide puts together what I do in every business I film, in the order I do it.
- 03
- 10
- 16
- 01
It isn’t your venue. It’s the time you show it.
Most people film their venue when they have a spare moment, and the spare moment tends to be the hour when nothing is going on. There are three moments in the day that do the work for you. Each one is good for something different.
The blue hour moves through the year. In Madrid the sun sets around six in December and around ten in June. Check the sunset time in your phone’s weather app and add twenty minutes.
01
Before opening
With the venue closed and daylight coming through the window. It is the cleanest side light you will get: the plate, the glass or the display next to the window, with no rush and nobody in the way.
02
The blue hour
The twenty minutes after sunset. The sky still has colour and the lit venue looks warm from the street. It is the photo that says you are open and that it is nice inside.
03
The busy hour
A full venue is when it makes sense. You don’t need to stay all night: twenty minutes are enough for the atmosphere, the hands and the people.
A
Switch off the ceiling. Switch on the tables.
Ceiling light lights everything the same and leaves the venue flat, like an office. The atmosphere comes from the low lights: candles, table lamps, neon, the bottle display. Before you film, switch off whatever hangs from the ceiling and keep only what is at people’s height.
Darkness doesn’t hide your venue: it fills it.
Everything equally bright. It looks like an office.
B
For products, light from the side.
Put the product beside a window, not in front of it or behind it. The light comes in from one side: one side shines and the other falls into shadow. That is volume. The phone goes at ninety degrees to the window, facing the product.
One side shines and the other falls into shadow. The product has volume.
C
On your phone: tap the light and lower the sun.
Tap the brightest part of the image on the screen (the candle, the glass, the window) and hold your finger until it locks. Then lower the brightness a touch with the sun or the slider that appears next to it. Everything else goes to black, and that’s fine: that is how the light that matters shows.
- Tap the brightest point
- Lower the sun a touch
- Let the rest go to black
A
Get down to its height.
From above, everything looks like a set lunch menu. At the height of the glass, it looks like an advert. The simplest trick I know: rest the phone on the table and raise it slowly to the middle of the glass. From there you see the shape, the colour and what is behind.
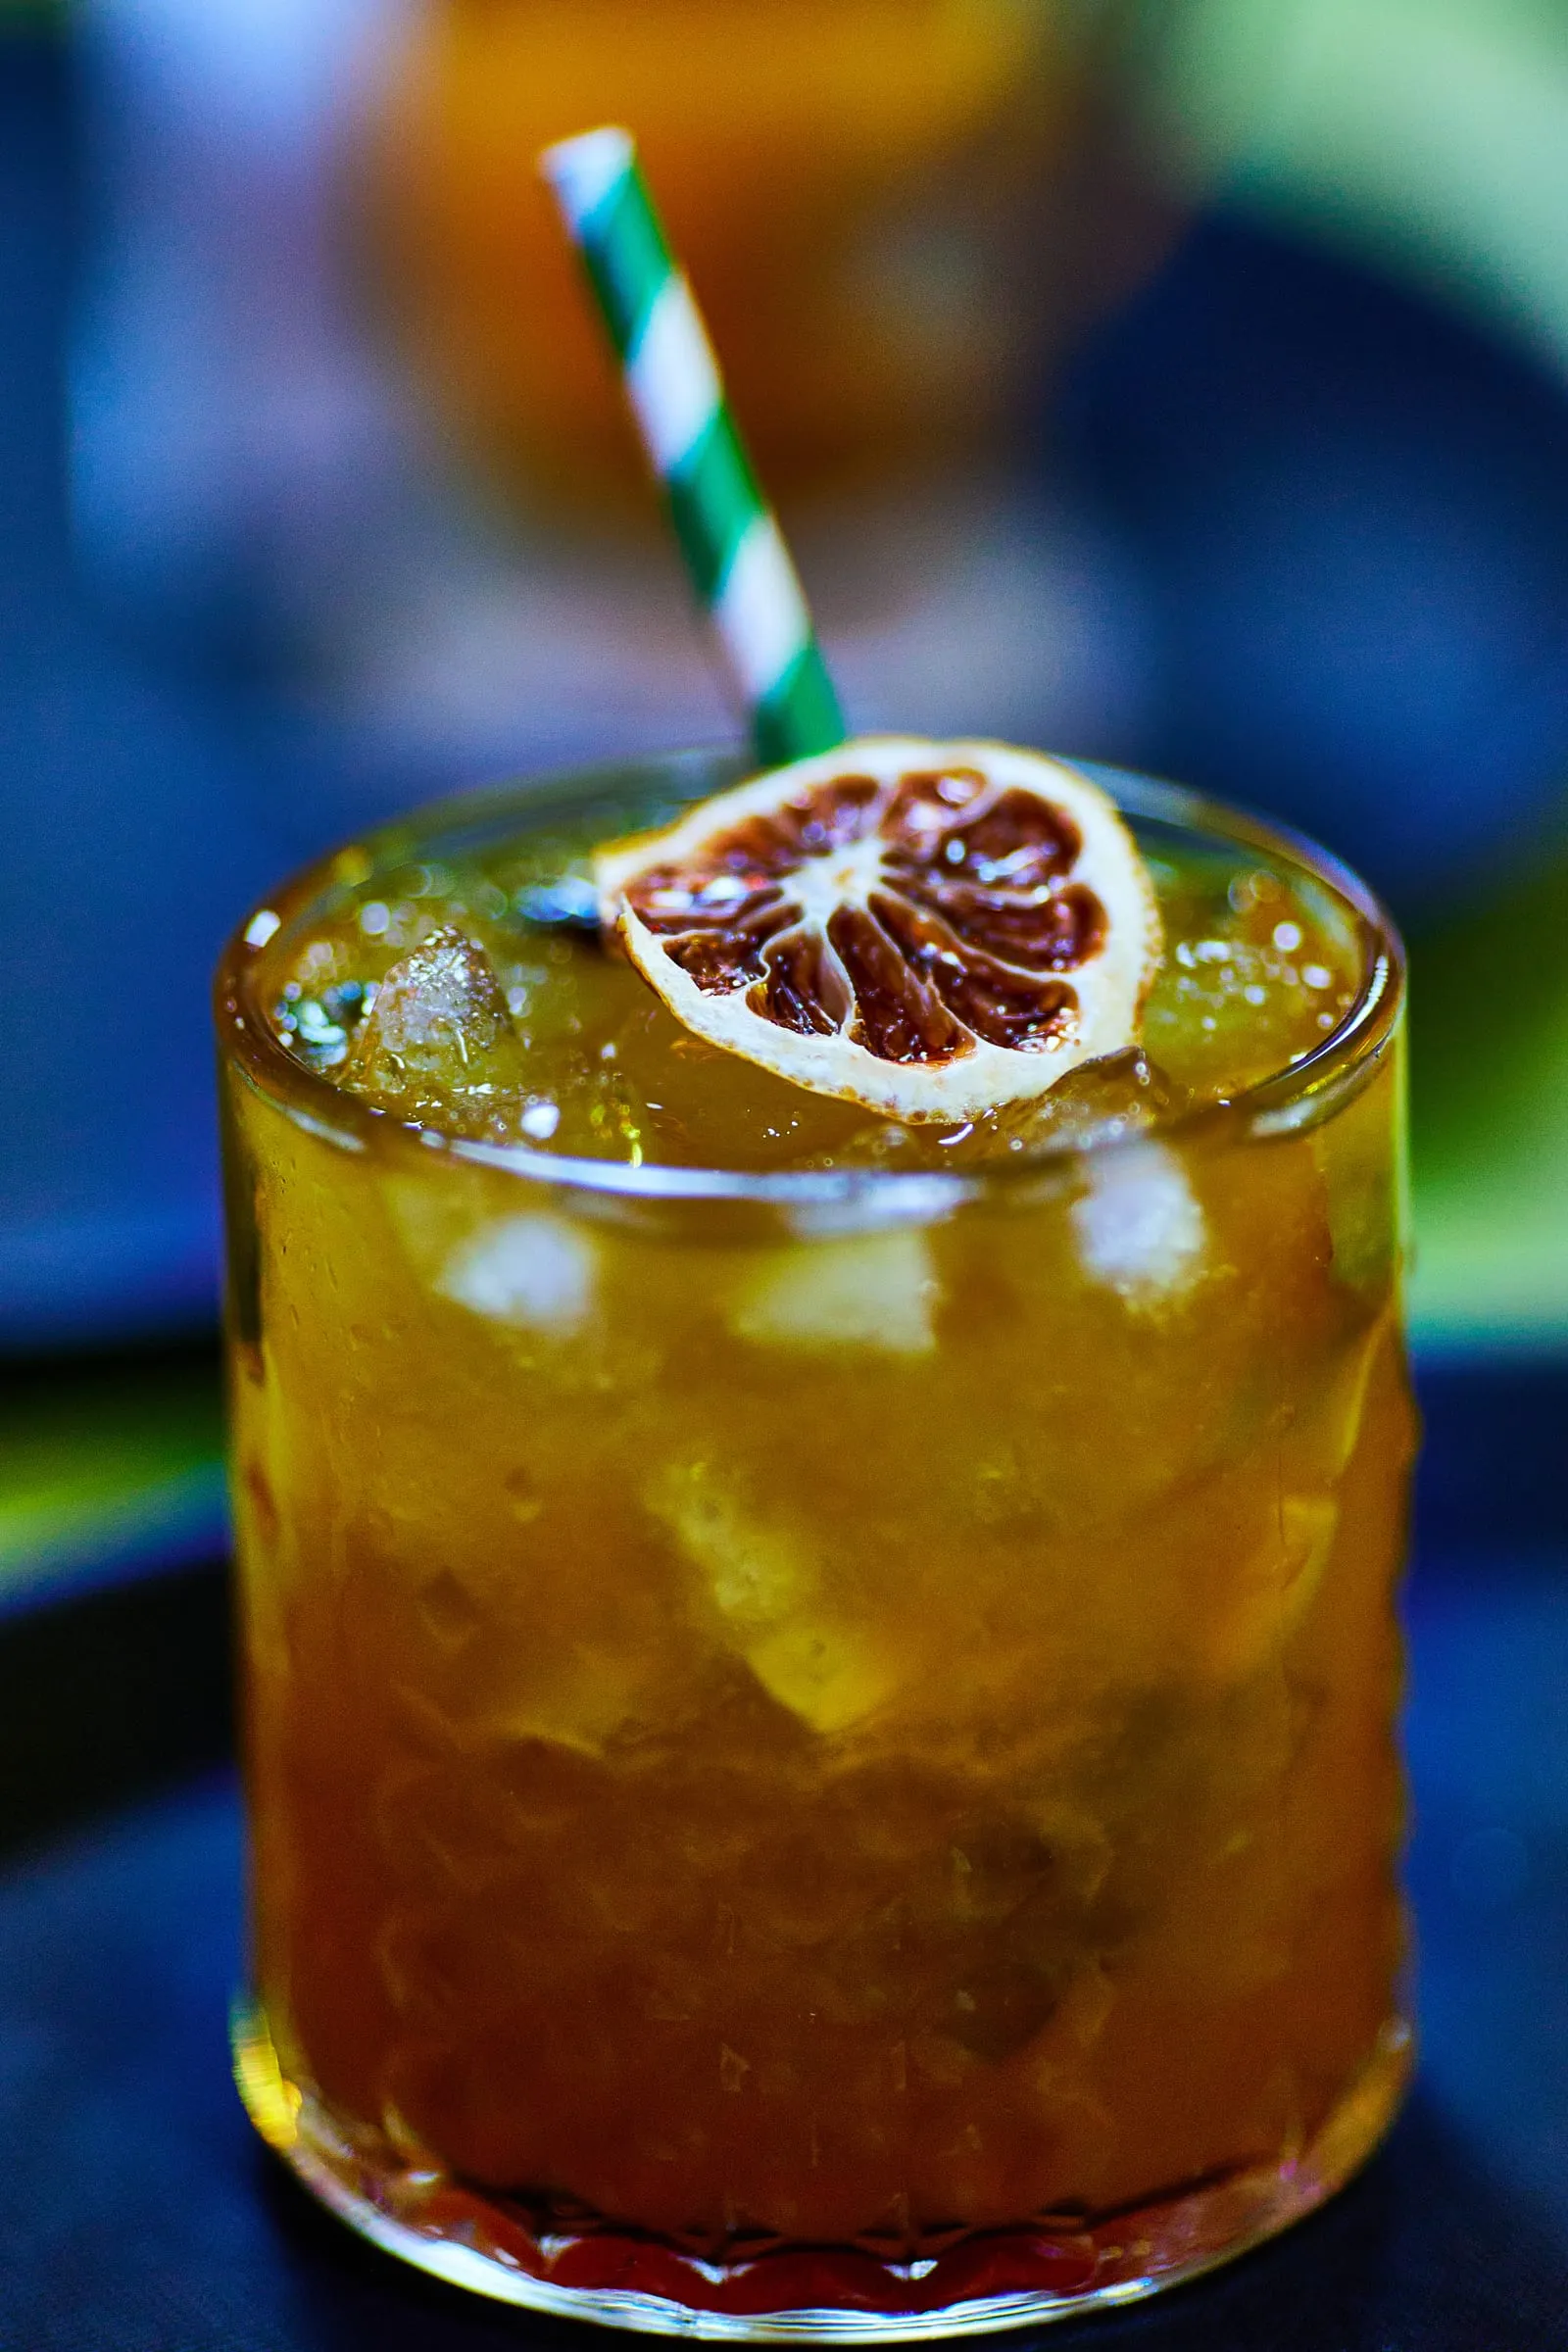
Advert
B
Remove whatever doesn’t pay rent.
Before you shoot, look at the edges of the frame: the napkin holder, the cables, the menu, the water bottle. If it isn’t the star, it goes. One object, a clean background and space around it.
C
Move in until half is left out.
A wide shot shows how many tables are empty. A detail shows what goes on inside. When you think you are close enough, take one more step: if you have left out half of what you were seeing, you are doing it right. With your feet, not the zoom.
- Wide shot: you count the empty tables
- Half left out: the people appear
- Detail: you see what is happening
The 10 shots I film in every venue.
Always in this order: from outside to inside and from small to big. Each shot has a place for the phone and a reason to be there. The wide shot goes last, when there are people.
01
The shopfront with life
From the pavement opposite, with someone walking in. It says where you are and that there is life inside.
02
The door from inside
The first thing people see when they come in: the street at the back and the lit venue around it. It is the welcome.
03
The bar from behind
Behind the bar, at the height of the glasses, with whoever is serving in profile. It shows the craft from where nobody else can stand.
04
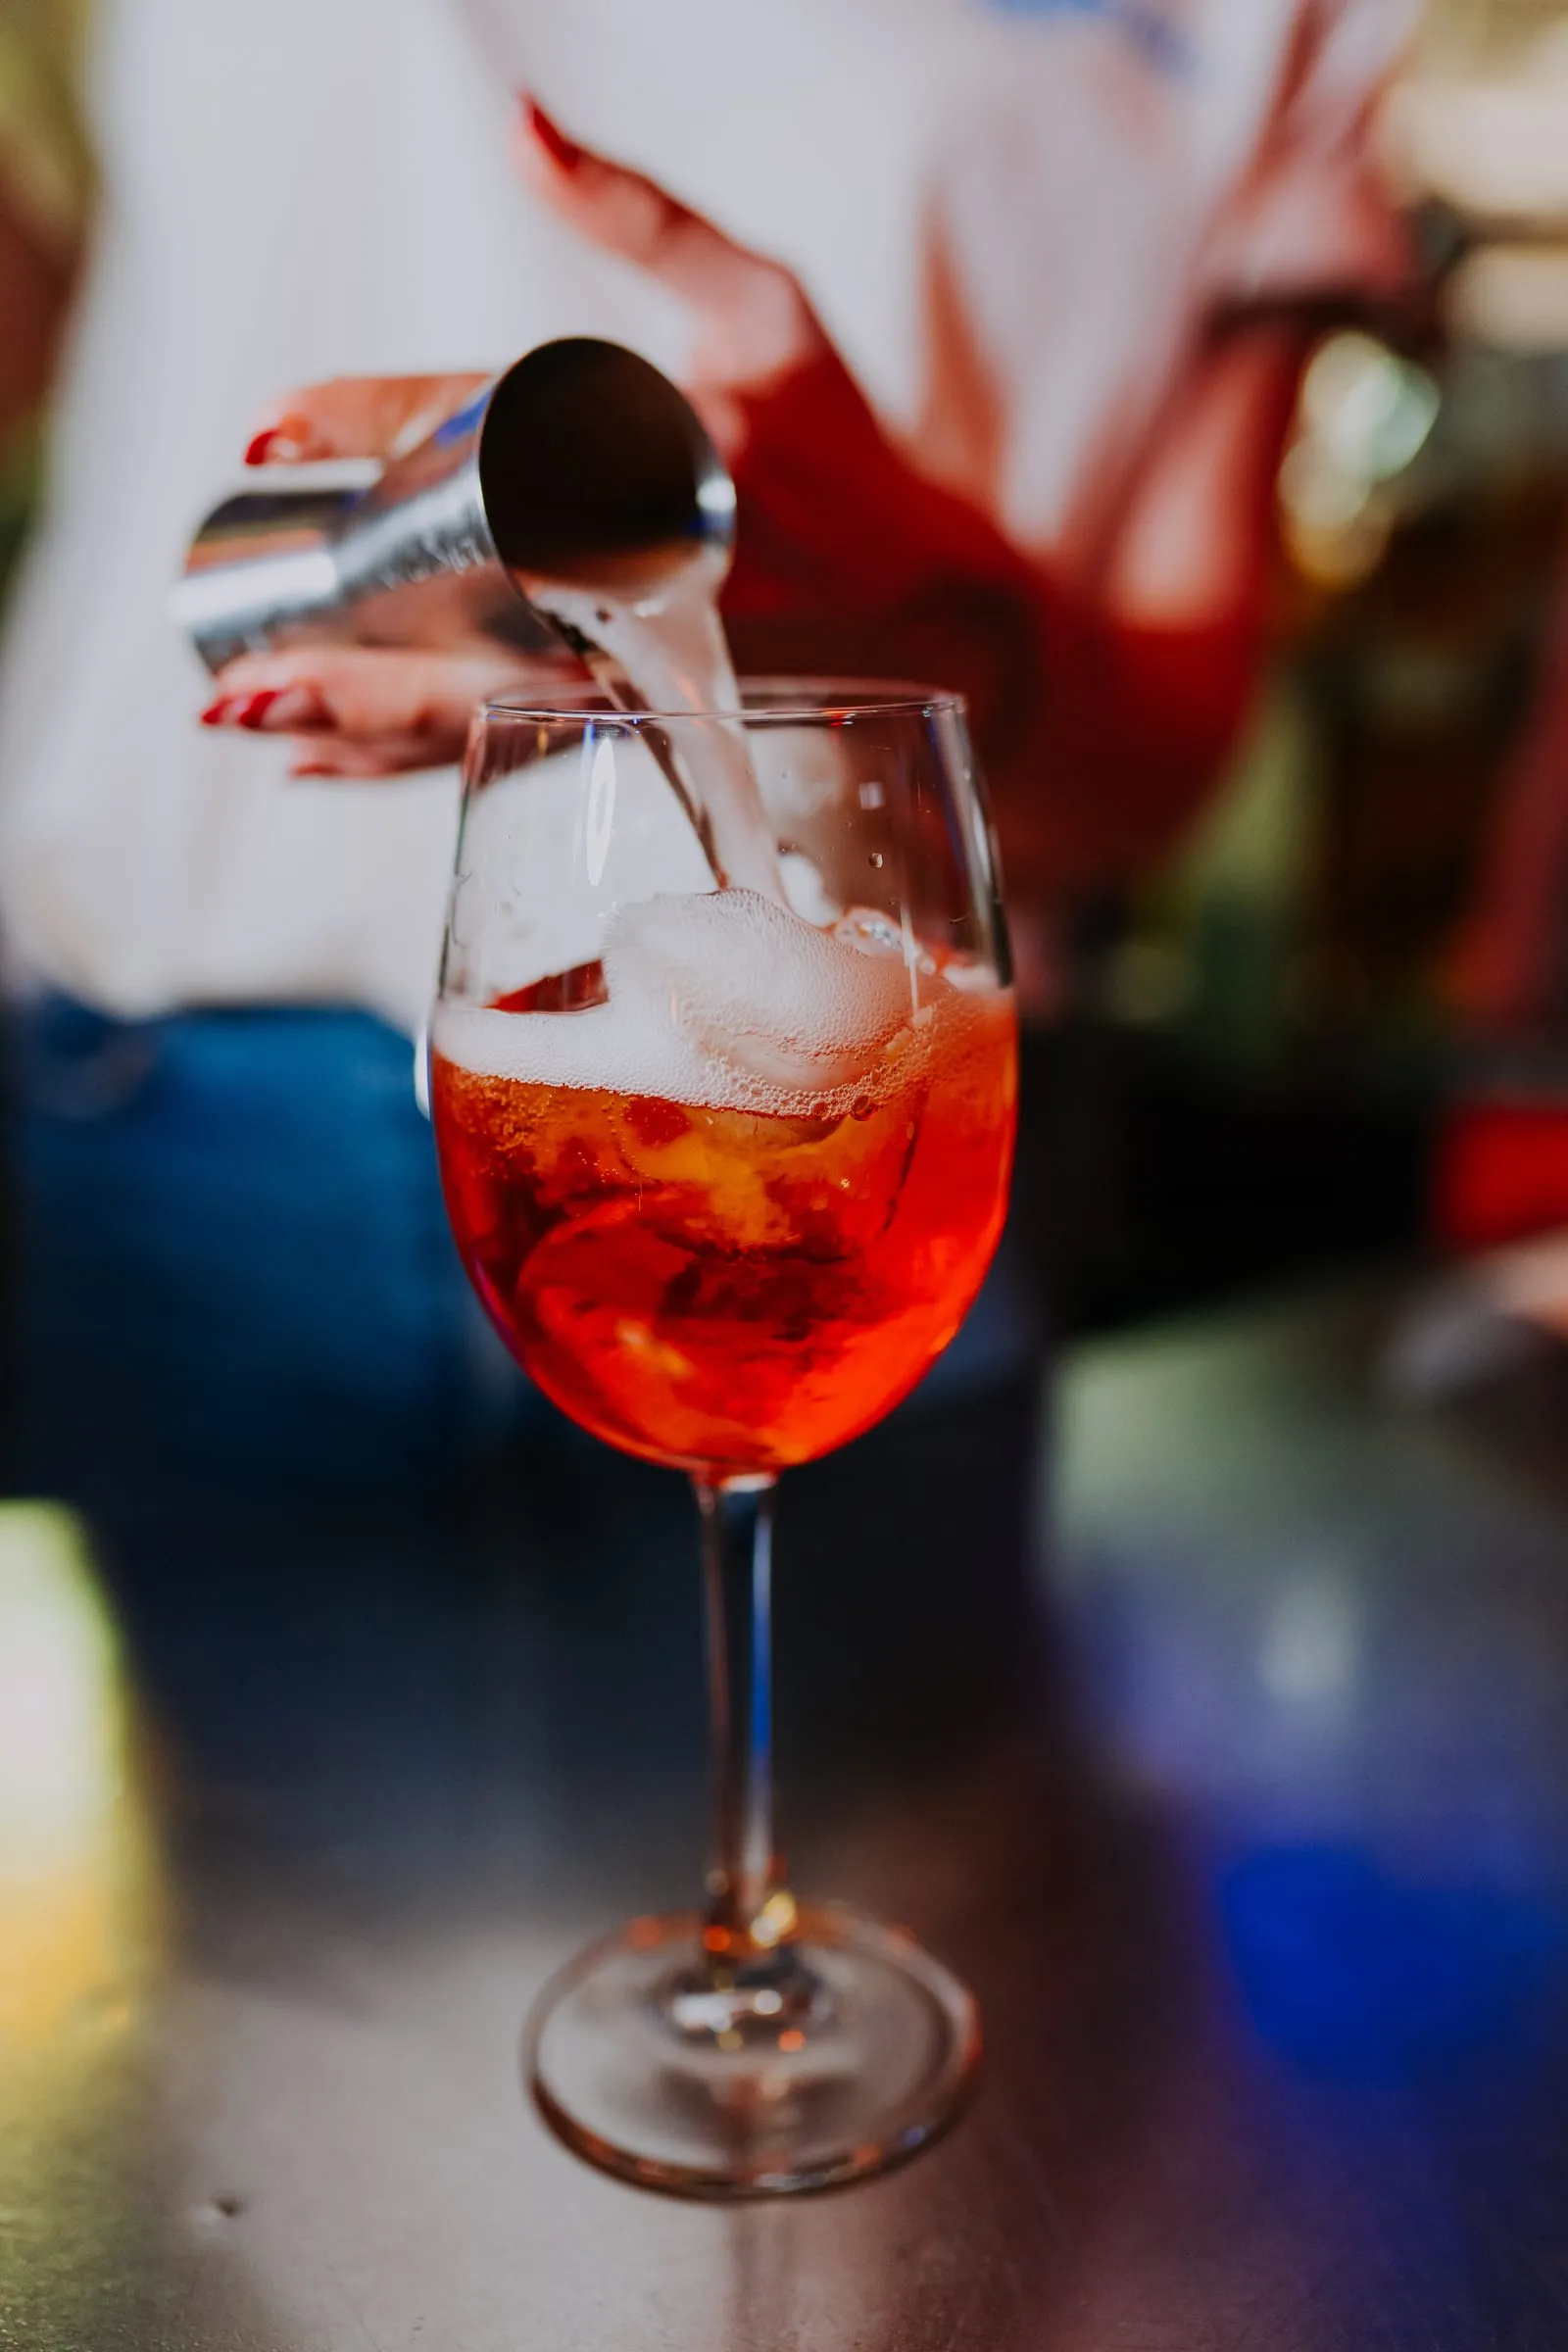
The hands
Pouring, cutting, plating. No faces, just the gesture. It is the shot that sells most.
05
The star product, at its height
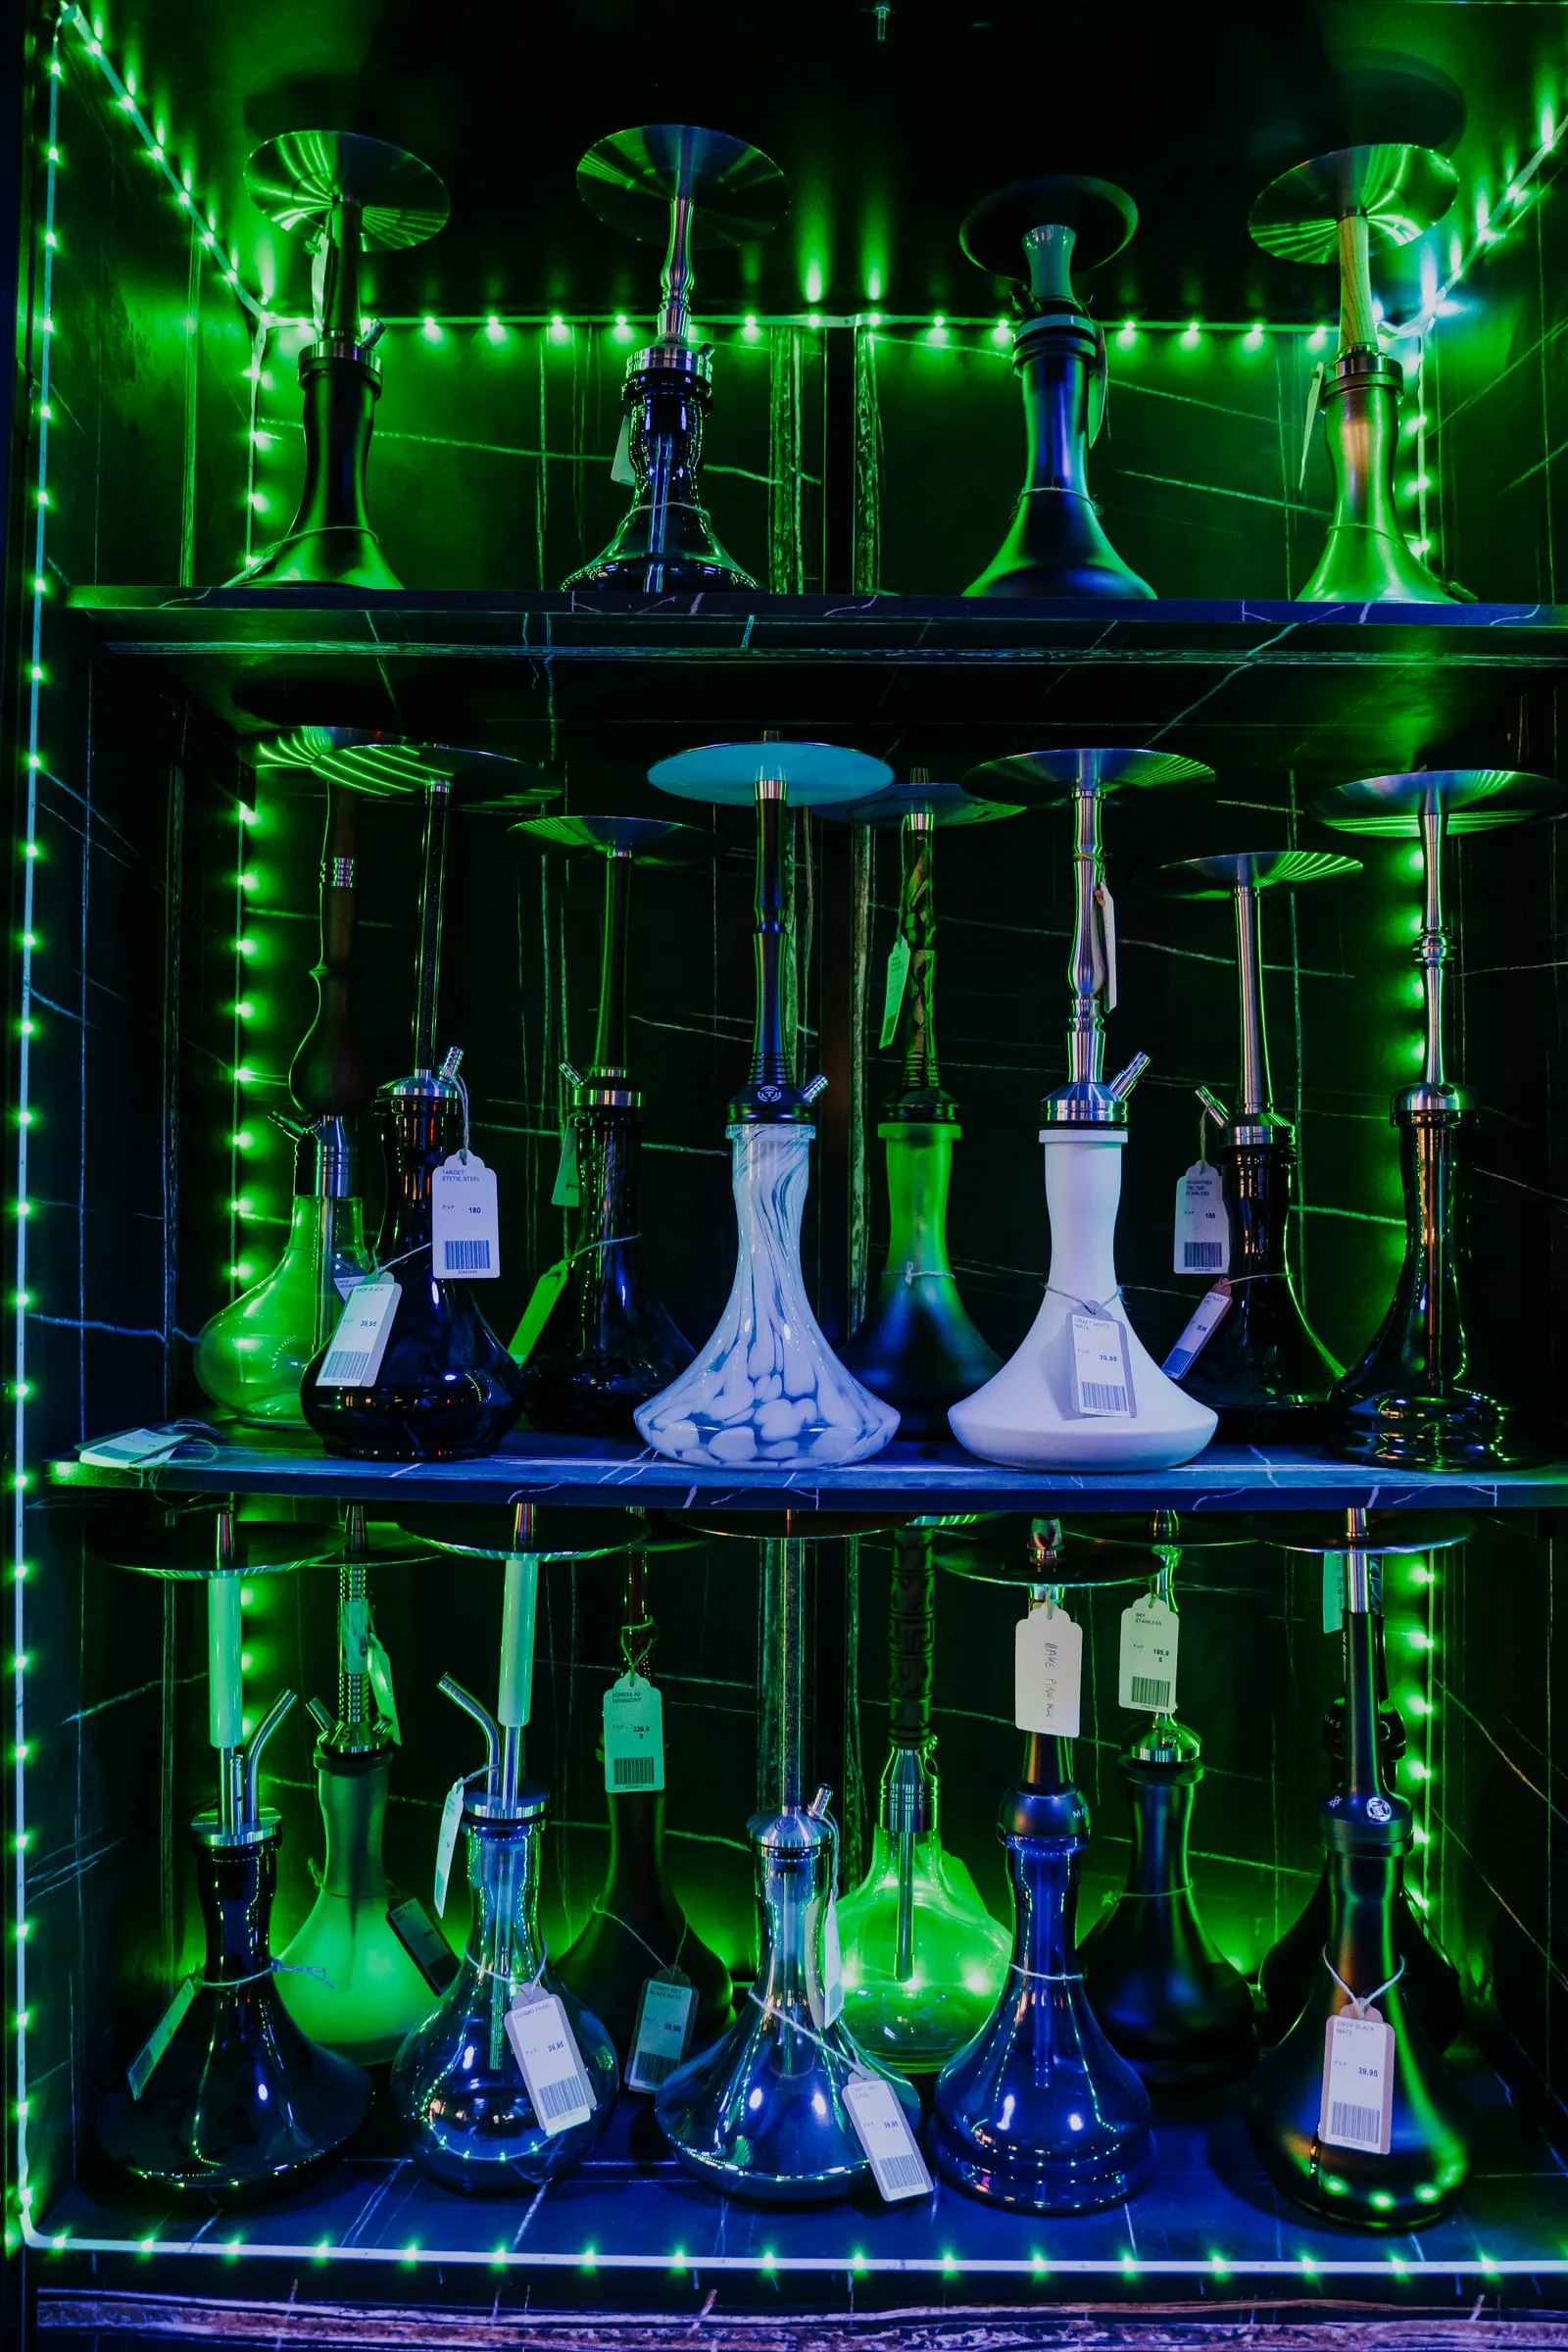
The glass, the plate, the hookah bowl: the phone at the middle of the product and the light from the side. It is the photo people come looking for.
06
The detail
The foam, the crust, the ice, the grain of the wood. Move in until half is left out.
07
The shared gesture
A toast, two hands passing something, the bill on the table. It says people come here together.
08
Atmosphere in layers
From the back of the venue, with someone out of focus in front and the table lights behind. Three layers give depth.
09
The people who make it happen
The team at work. If someone poses, give them something to hold: a tray, a cloth, a bottle.
10
The wide shot, last
The whole venue, just once and with people. Never empty: that is why it goes last.
Film each shot for ten seconds without moving the phone. If you want movement, move yourself afterwards, in another take. With these ten you have material for a month of posts.
The day of the shoot, box by box.
Print it or open it on your phone and tick as you go. The boxes stay ticked in this browser until you clear them.
Take it to your venue.
The times, the light, the framing, the 10 shots and the shoot-day checklist in six pages, to keep at hand on the day you film.
Short answers to the most common questions.
What time should I photograph my bar?
It depends on what you want to show. Products and details in the morning, before opening and next to a window. The shopfront in the blue hour: the twenty minutes after sunset. The atmosphere at the busiest time, on a Friday night or at Sunday lunchtime. Twenty minutes at each moment is enough.
Is my phone enough or do I need a camera?
For Instagram, a phone from the last few years is enough. What makes the difference is the time of day, the light and the height you film from, not the device. Clean the lens, lock the exposure and don’t use the zoom: move closer yourself.
Can I film my customers?
Always ask first. If someone doesn’t want to appear, frame them so they can’t be recognised: hands, backs or people out of focus in the background. Recognisable faces only with permission. This isn’t legal advice: if you have doubts about a specific case, ask whoever handles data protection for your business.
How many photos should I post from each shoot?
Far fewer than you take. Pick three per shot at most and spread the rest over time. With the ten shots in this guide you have material for a month without repeating yourself.
Do I need extra lighting?
Hardly ever. Before buying anything, switch off the ceiling lights and use what you already have: the window in the morning, and the low lamps, candles and neon at night. If a plate or a glass looks too dark, move it closer to the window or a lamp before adding a light.
How do I stop my venue looking empty on Instagram?
Film at the busiest time, move in close and leave the wide shot for last. Some hands or a toast show life even if only three tables are taken at that moment. And switch off the ceiling lights: with flat light, anywhere looks empty.
How often should I film?
One shoot a month with the ten shots gives you enough to post every week. If you change the menu, the decor or the season, film again: it is the best excuse to show the venue once more.